
This tutorial on how to make earrings for beginners is an excellent place to start if you would like to venture into earring making. With very basic tools and supplies and simple wire loop technique, you get to learn how to make 2 very easy and beautiful designs every beginner can start with.

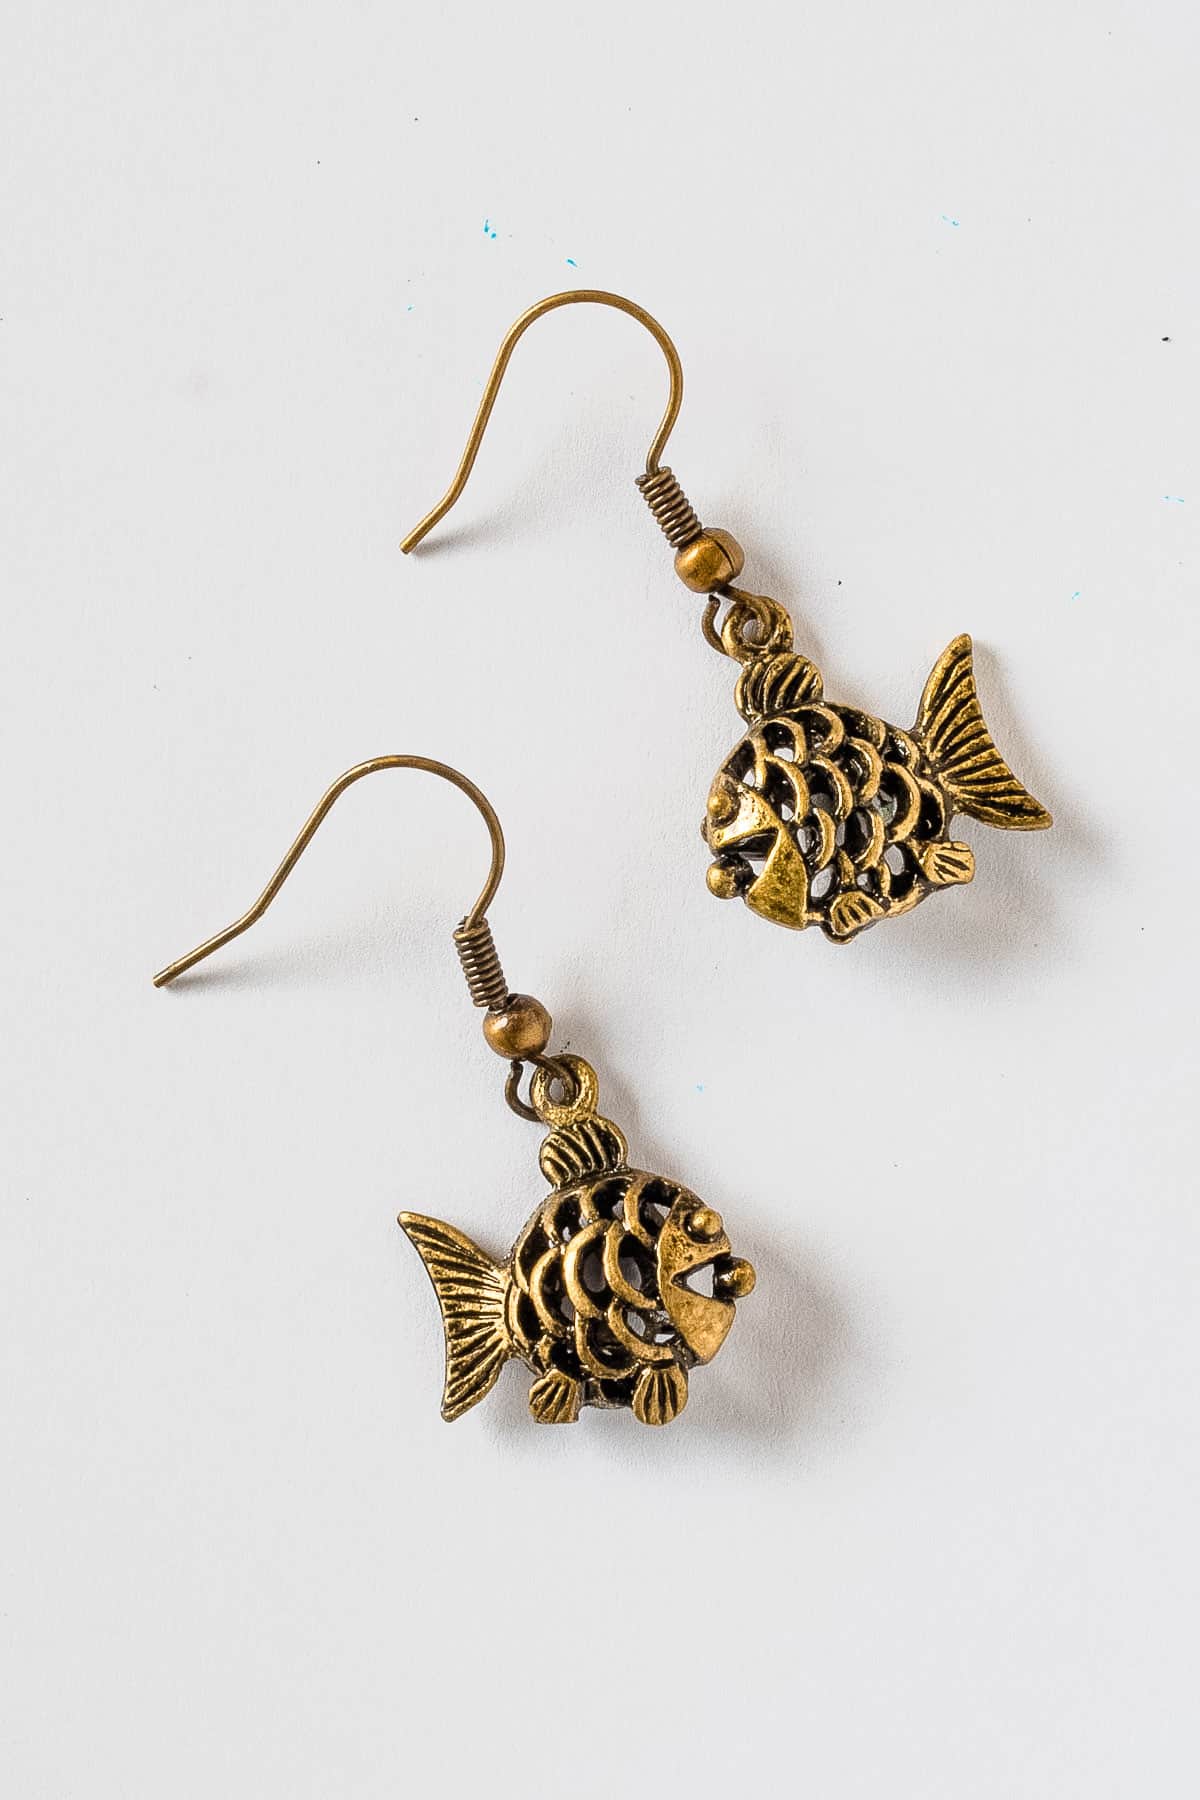
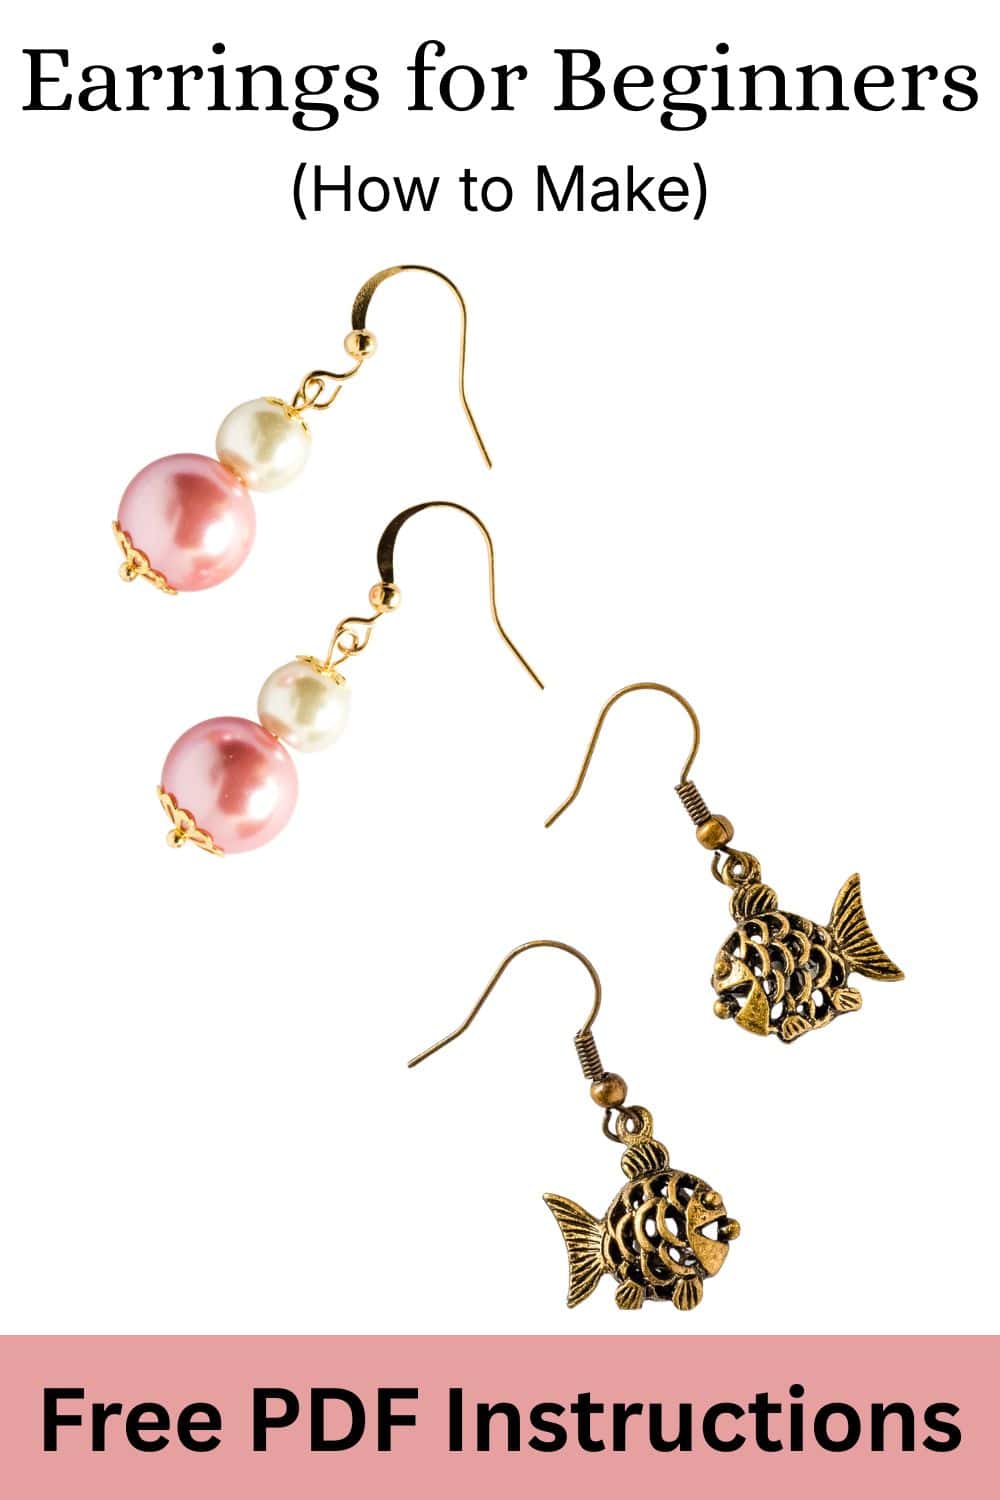
Design 1: Charm Earrings
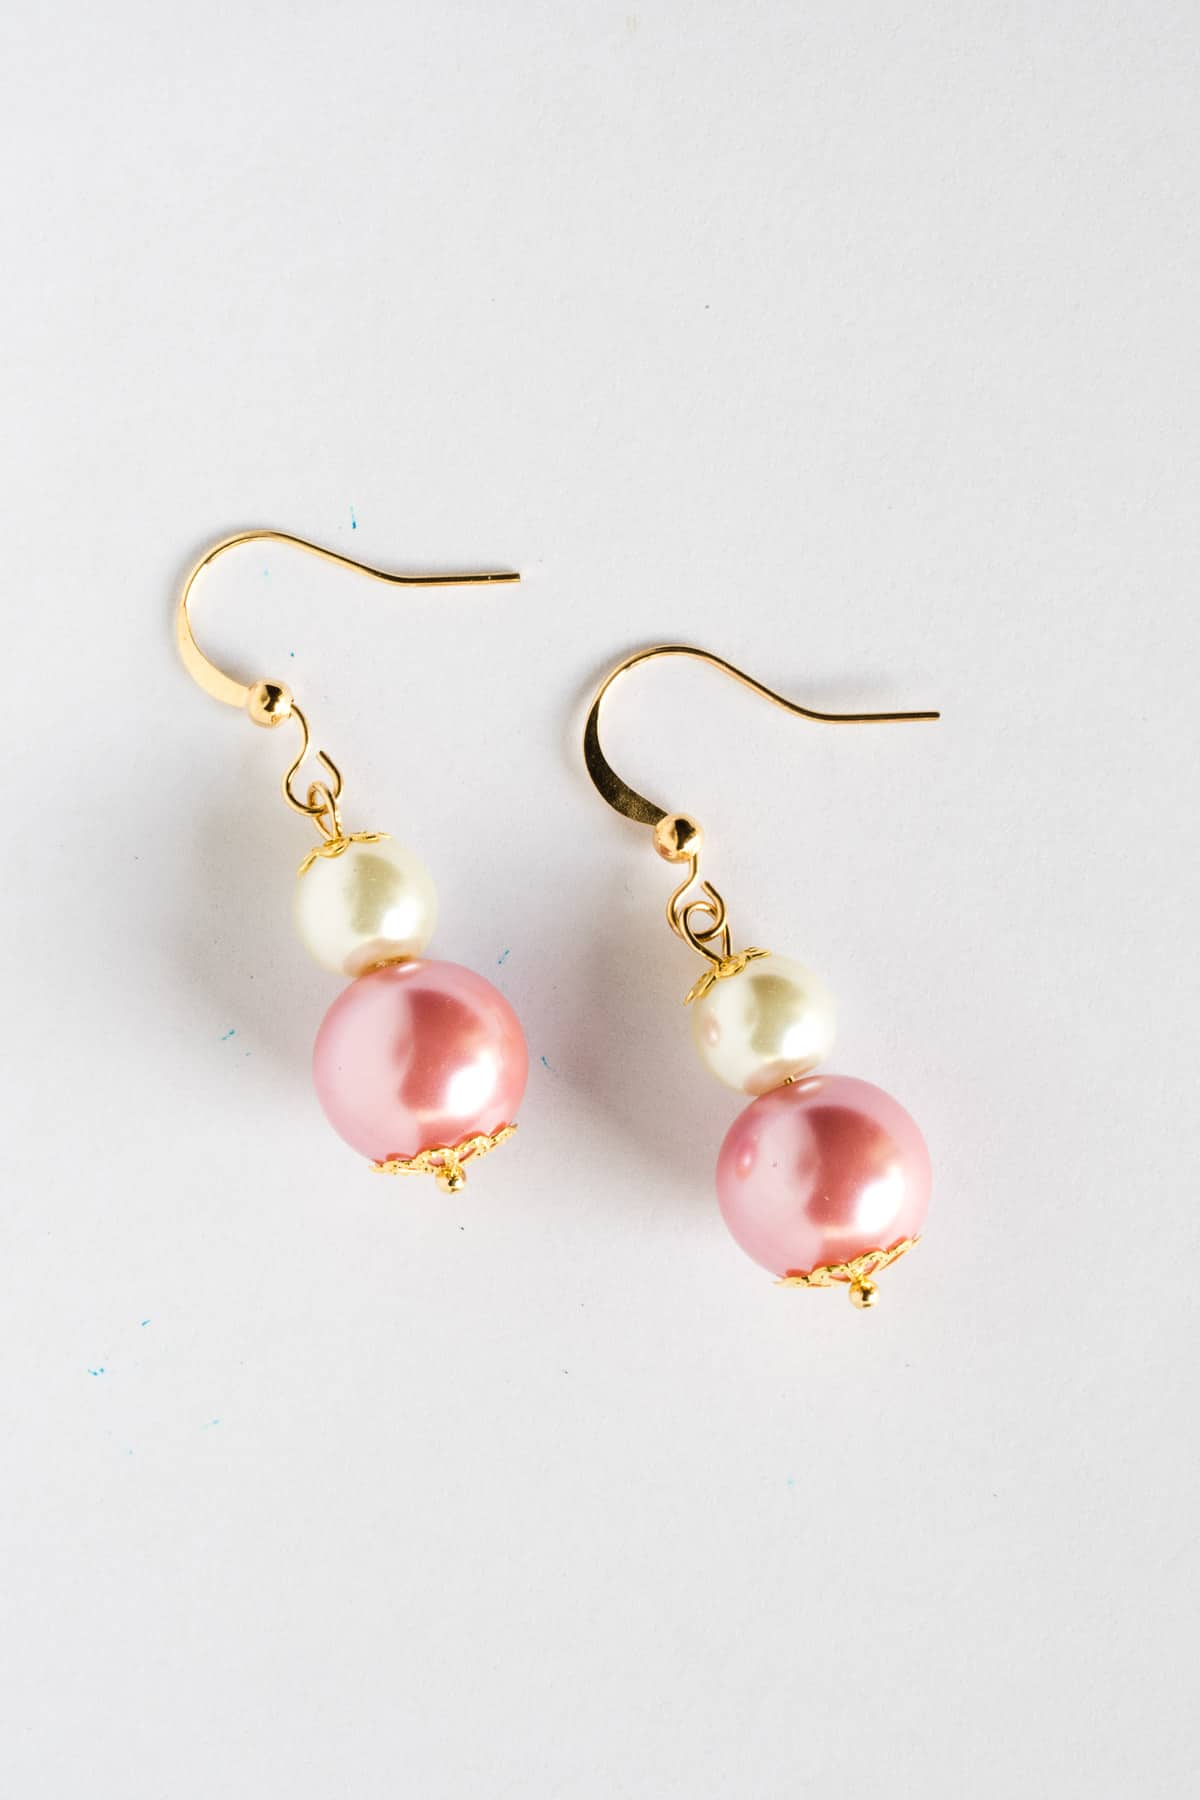
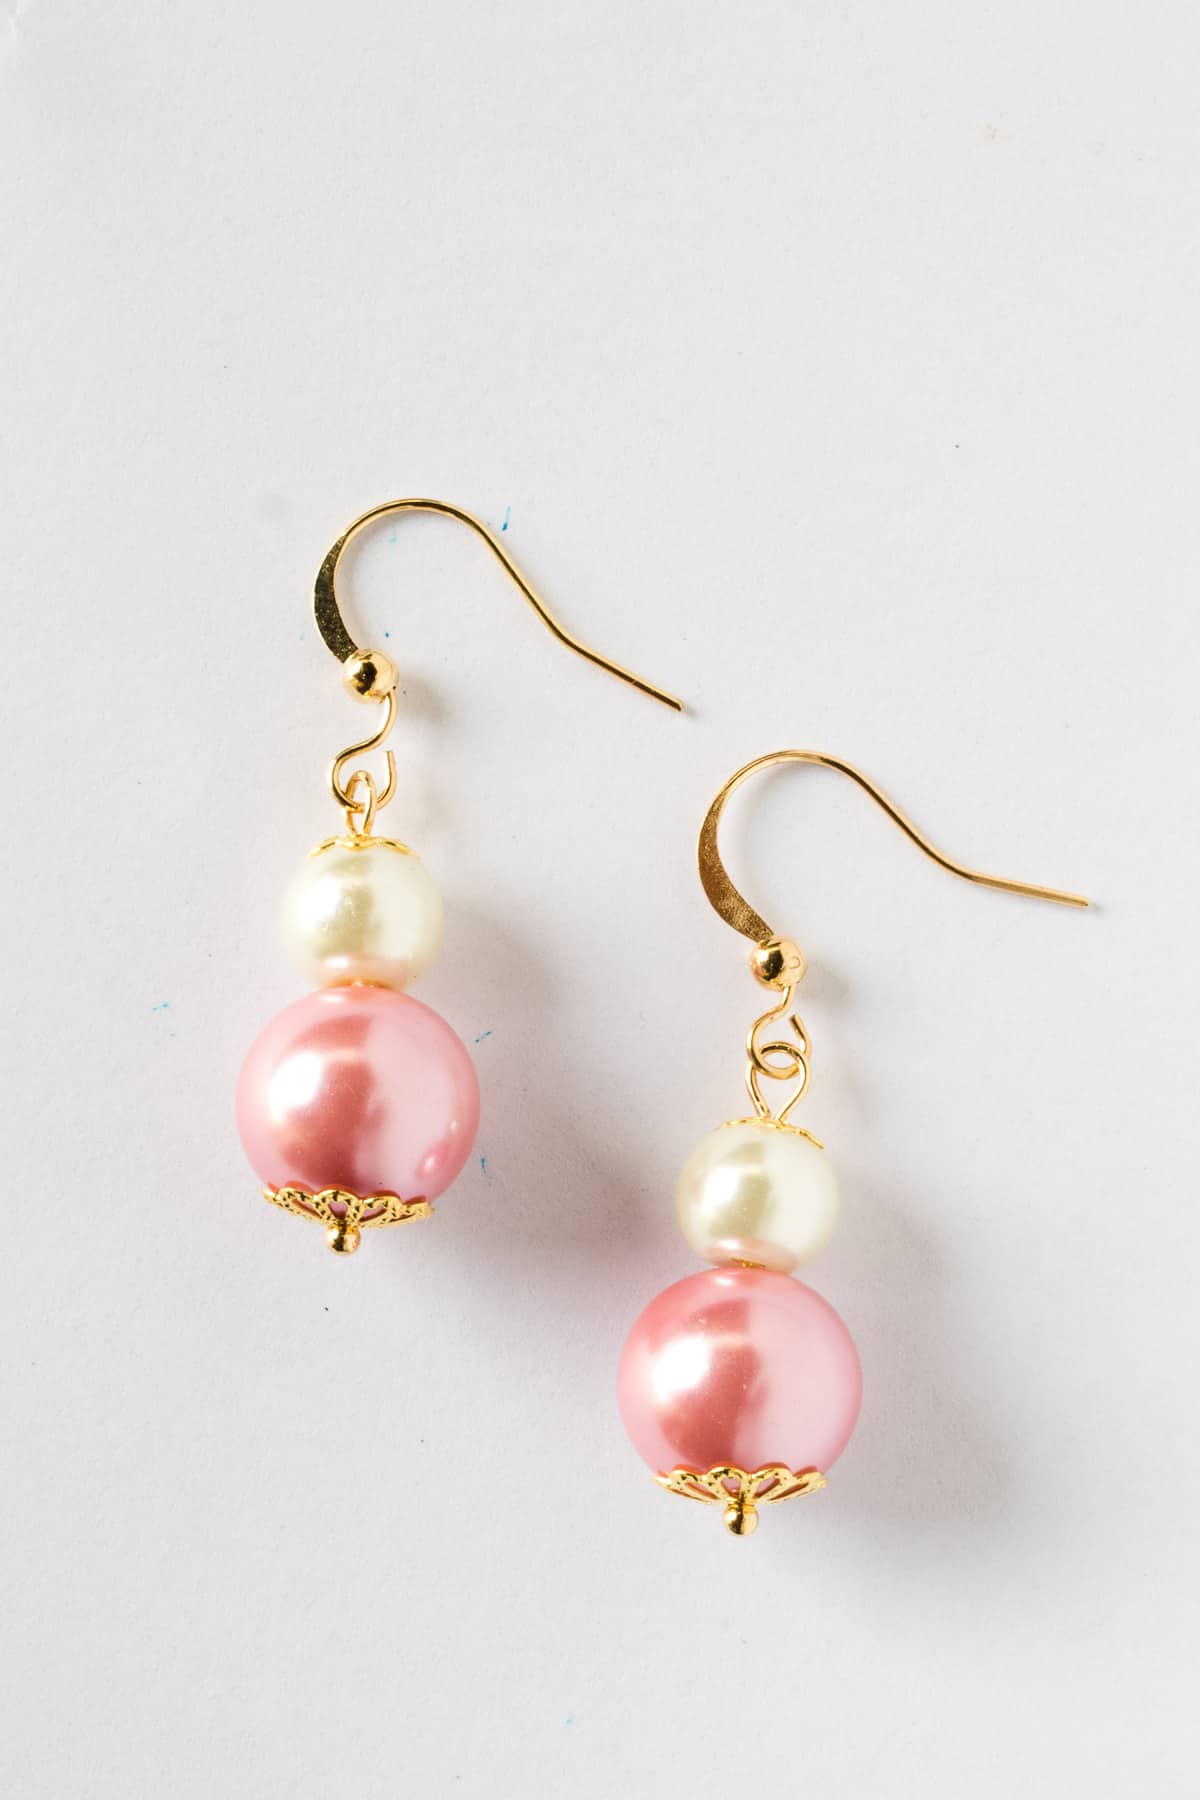
Design 2: Bead Earrings
The first earring design is made using charms. These are simple pair of earrings, and can be customized in many ways by simply using different types of charms. You can even make this without any special jewelry making tools.
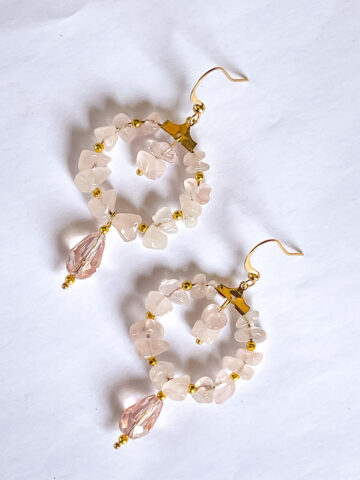
The second design is also a perfect idea when it comes to earring making for beginners, and in this design, I will show you how to use simple looping technique to make pretty and elegant pearl earrings.
For more advanced yet easy to make earring designs, check out my faux leather earrings tutorial, seed bead earrings, DIY pearl earrings and beaded hoop earrings.
Jump to:
Project 1: Easy Charm Earrings
🎥Video Tutorial
Here the full video with complete tutorials on how to make these easy charm earrings. And get the full, step by step images and instructions right in the next section below:
🧾Tools and Supplies
These first earrings design does not require any special tools. All you need are the supplies below and very easy steps:
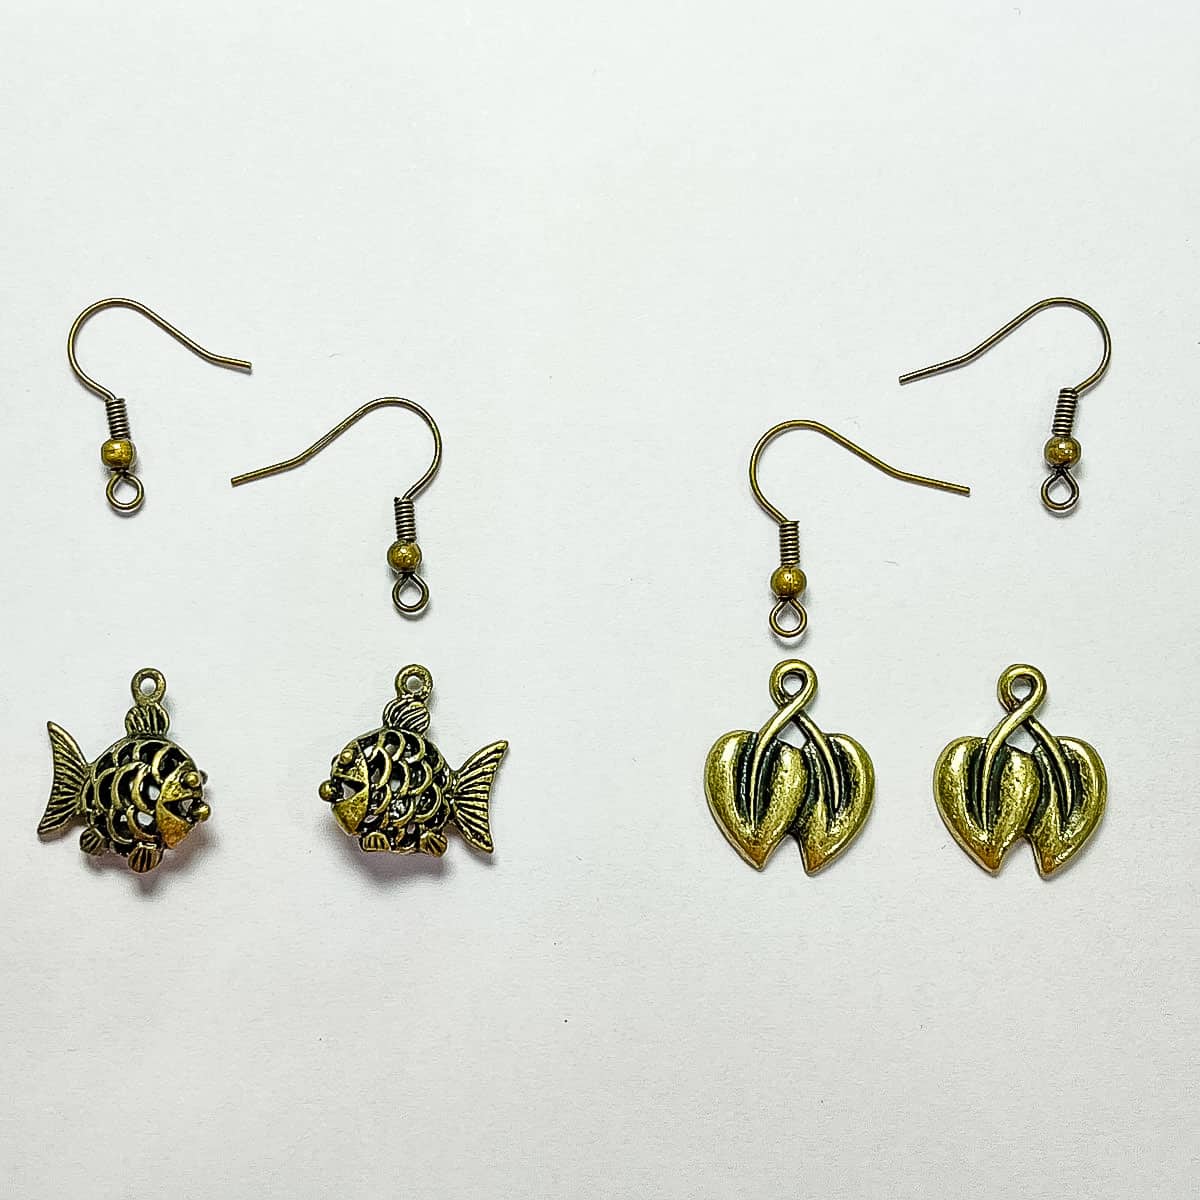
- Earring hooks
- Charms
✂️How to Make

- Twist open the small loop of the earring hooks.
- Attach the charm to it.
- Twist the earring hook loop to close.
- Repeat the process to make another earring and and your easy charm earrings are ready.
Tips
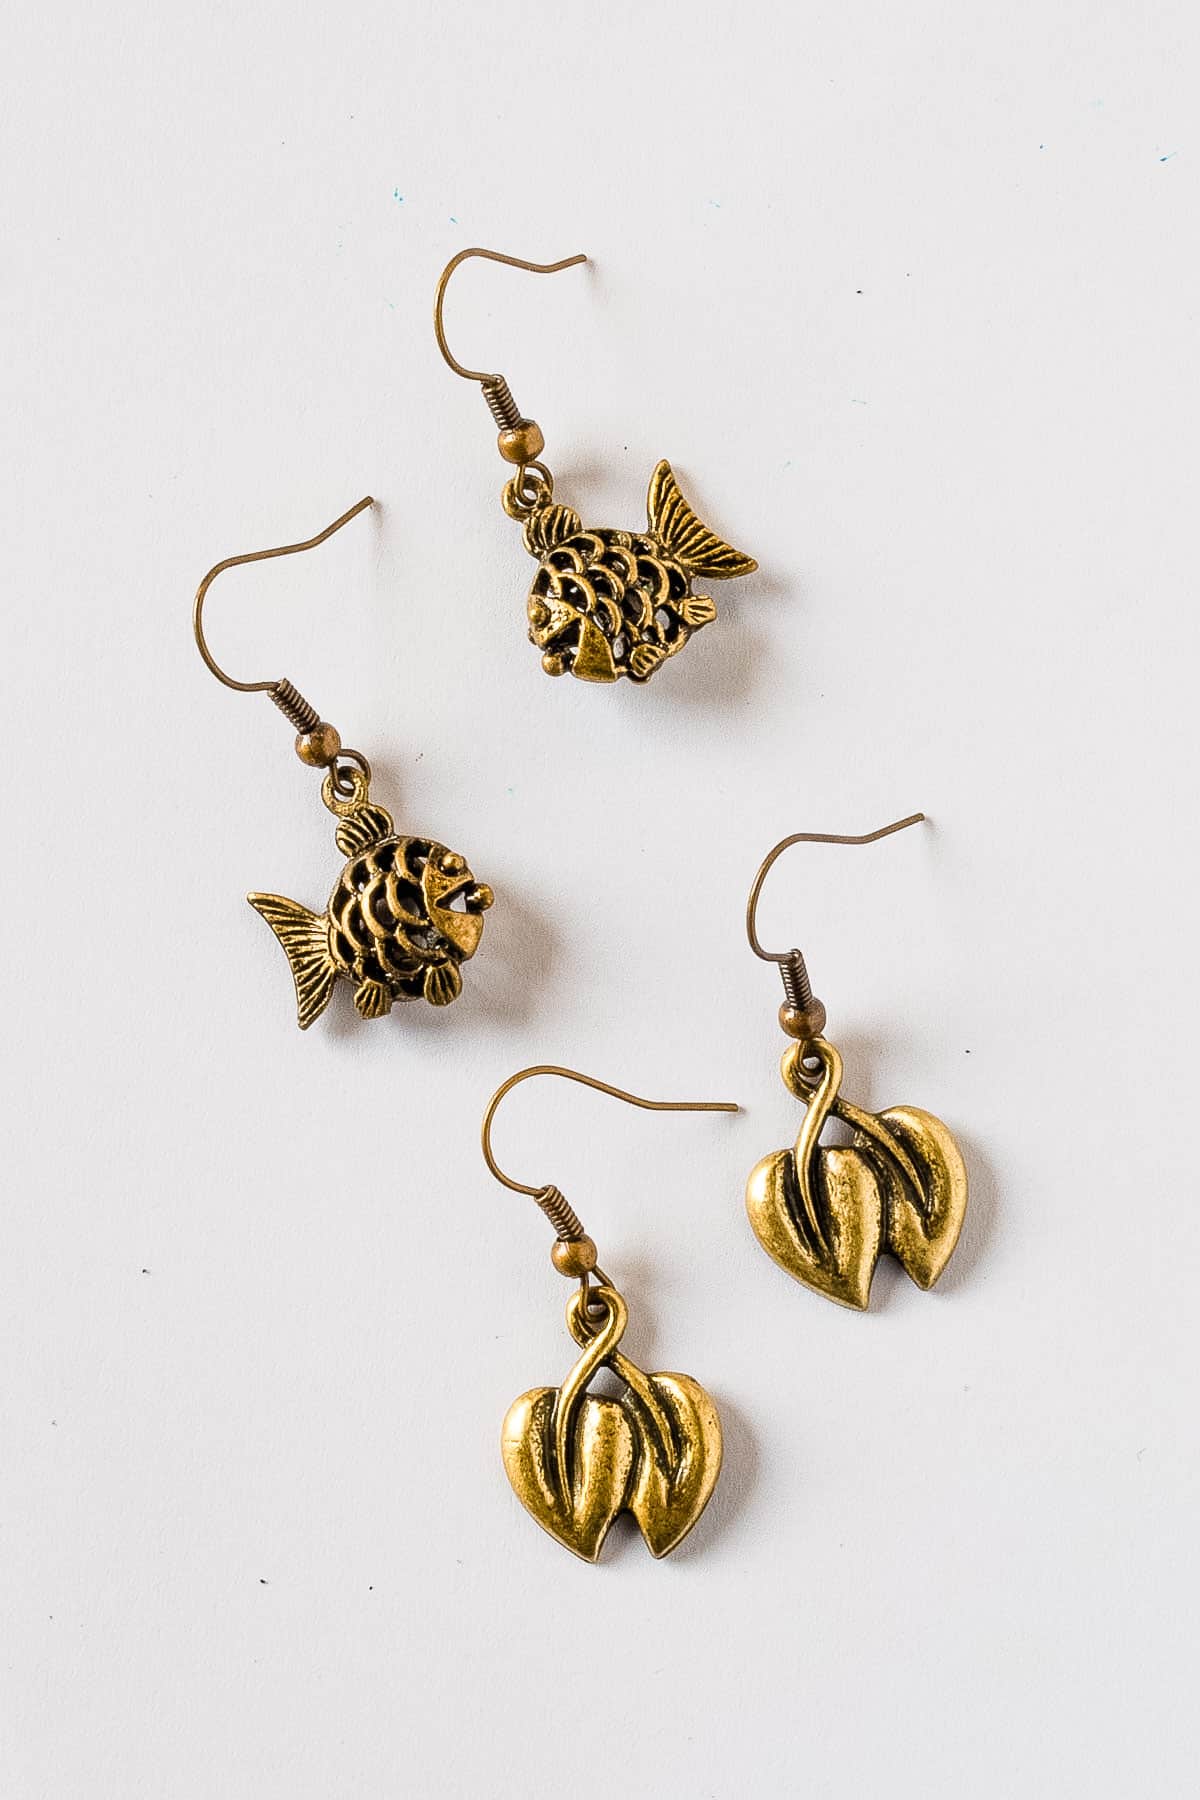
- You can use this technique to create charm earrings in any pattern or design. Simply choose your favorite charm and make your charm earrings.
- You can also add more than one charm to make your charm earrings. Simply attach both charms to the earring hooks.
Project 2: Easy Beginner Pearl Earrings
In this easy beginner earring design, you need to use simple looping techniques. Check out how to make these in the video below. The full supply list and step by step instruction are right below the video.
🎥Video Tutorial
Here is my video featuring detailed instructions of basic techniques for making this piece of jewelry.
🧾Tools and Supplies
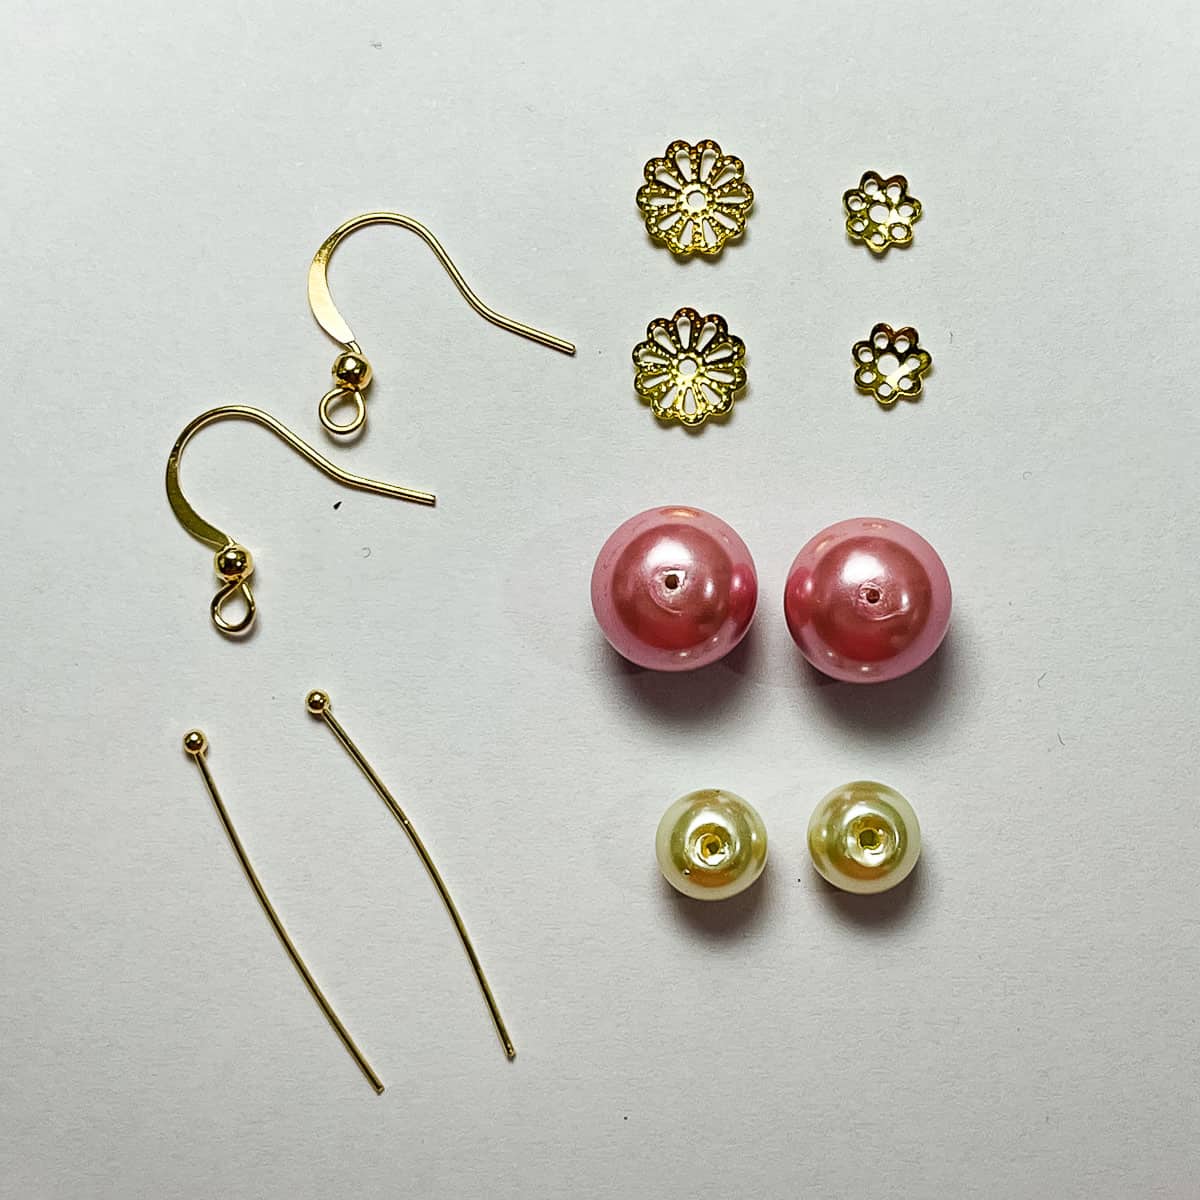
- 2 Earring hooks
- Pink pearl beads (2 beads measuring 12mm in diameter each)
- White pearl beads (2 beads measuring 8mm in diameter each)
- 2 headpins (measuring approximate 35mm in diameter)
- 2 bead caps in gold (measuring 6mm in diameter)
- Round nose plier
✂️How to Make
Step one: Make the pearl dangles

- Insert the bead cap into the head pin.
- Next, insert the pink bead.
- Follow with a white bead.
- Top the white bead with a bead cap.
- Form a loop with the remaining headpin wire.
- Repeat the process to make the other pearl dangle.
Step 2: Attach the dangle to the earring hook
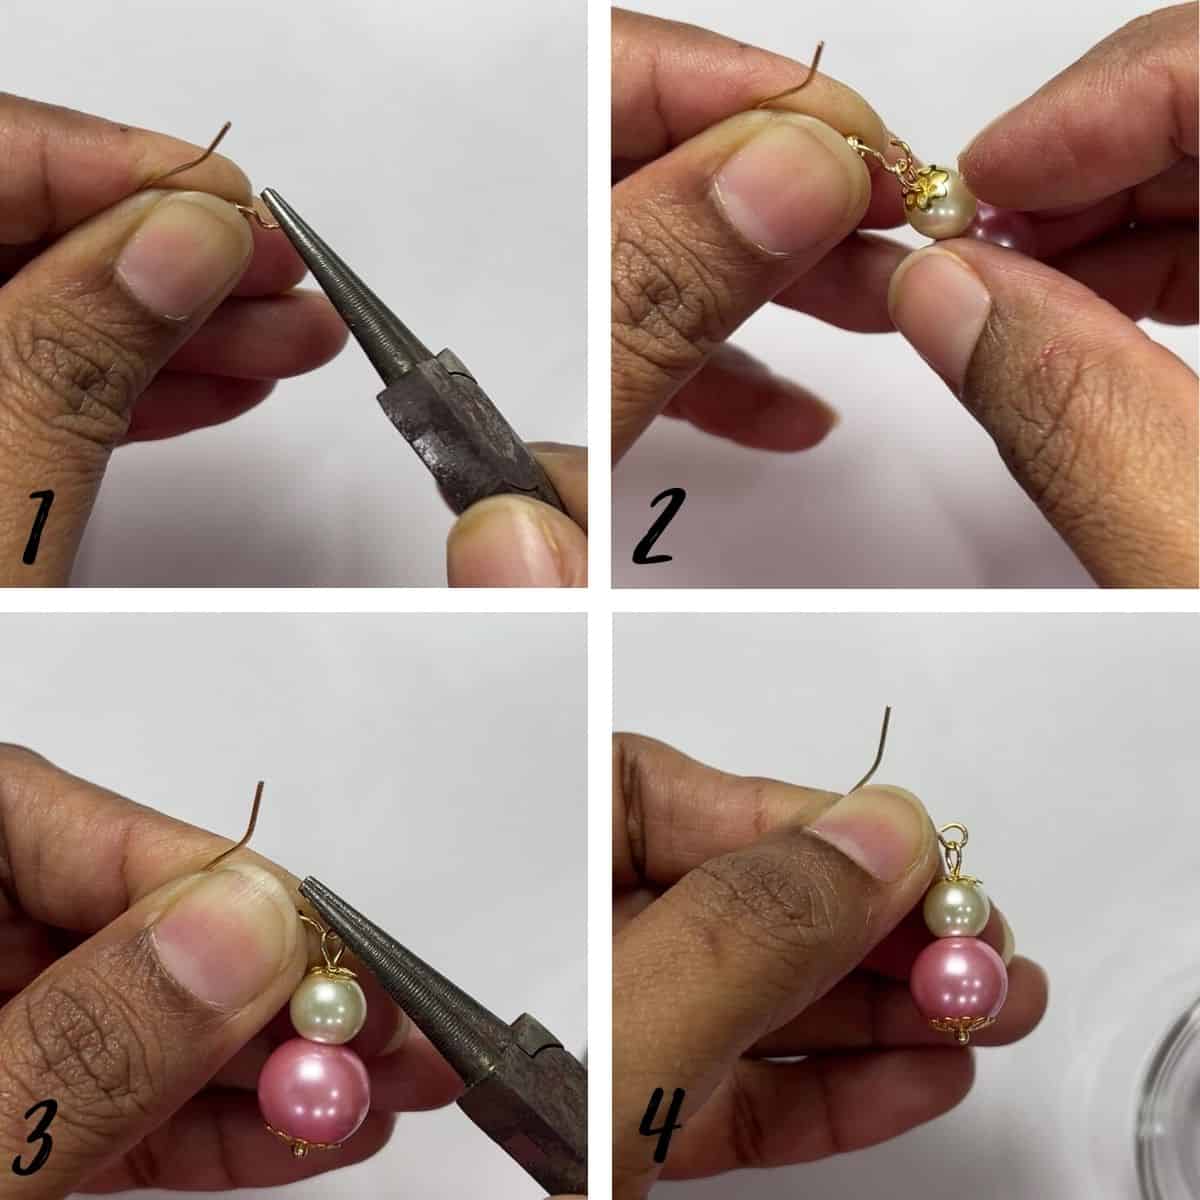
- Twist open the loop at the end of the earring hook with a round rose plier.
- Insert the bead dangle.
- Twist the loop of the earring hook close, again with a round nose plier.
- Repeat the process for the other earring to complete the pair.
Tips
- Colors of beads and size – These easy earrings can be customized to different bead sizes and colors. Choose any size you like or any color to suit your personal style. You can even use glass beads, wood beads, plastic beads, crystal beads or other decorative beads. All these will make perfect beads for these earrings.
- Earrings length – I made these earrings with 2 pearl beads on each side. If you prefer longer earrings, you can make yours with 3 beads. Just make sure you use a long enough headpin that can fit all 3 beads and still form a loop at the end. And if you prefer shorter earrings, use just one bead. Just remember to cut off the excess wire so that your loop at the end of the dangle is not too big.
- Earring findings - If you are not a fan of fish earring hooks, simply replace them with any other kind of earring wires you like.
Printable Instructions (Free PDF)
Click on the image below to download your free PDF instructions to make the earrings:


Leave a Reply