
Learn how to make origami fish with this easy origami fish paper craft idea. With simple art of paper folding technique and just a single piece of square paper, make a very cute paper fish in less than 5 minutes!
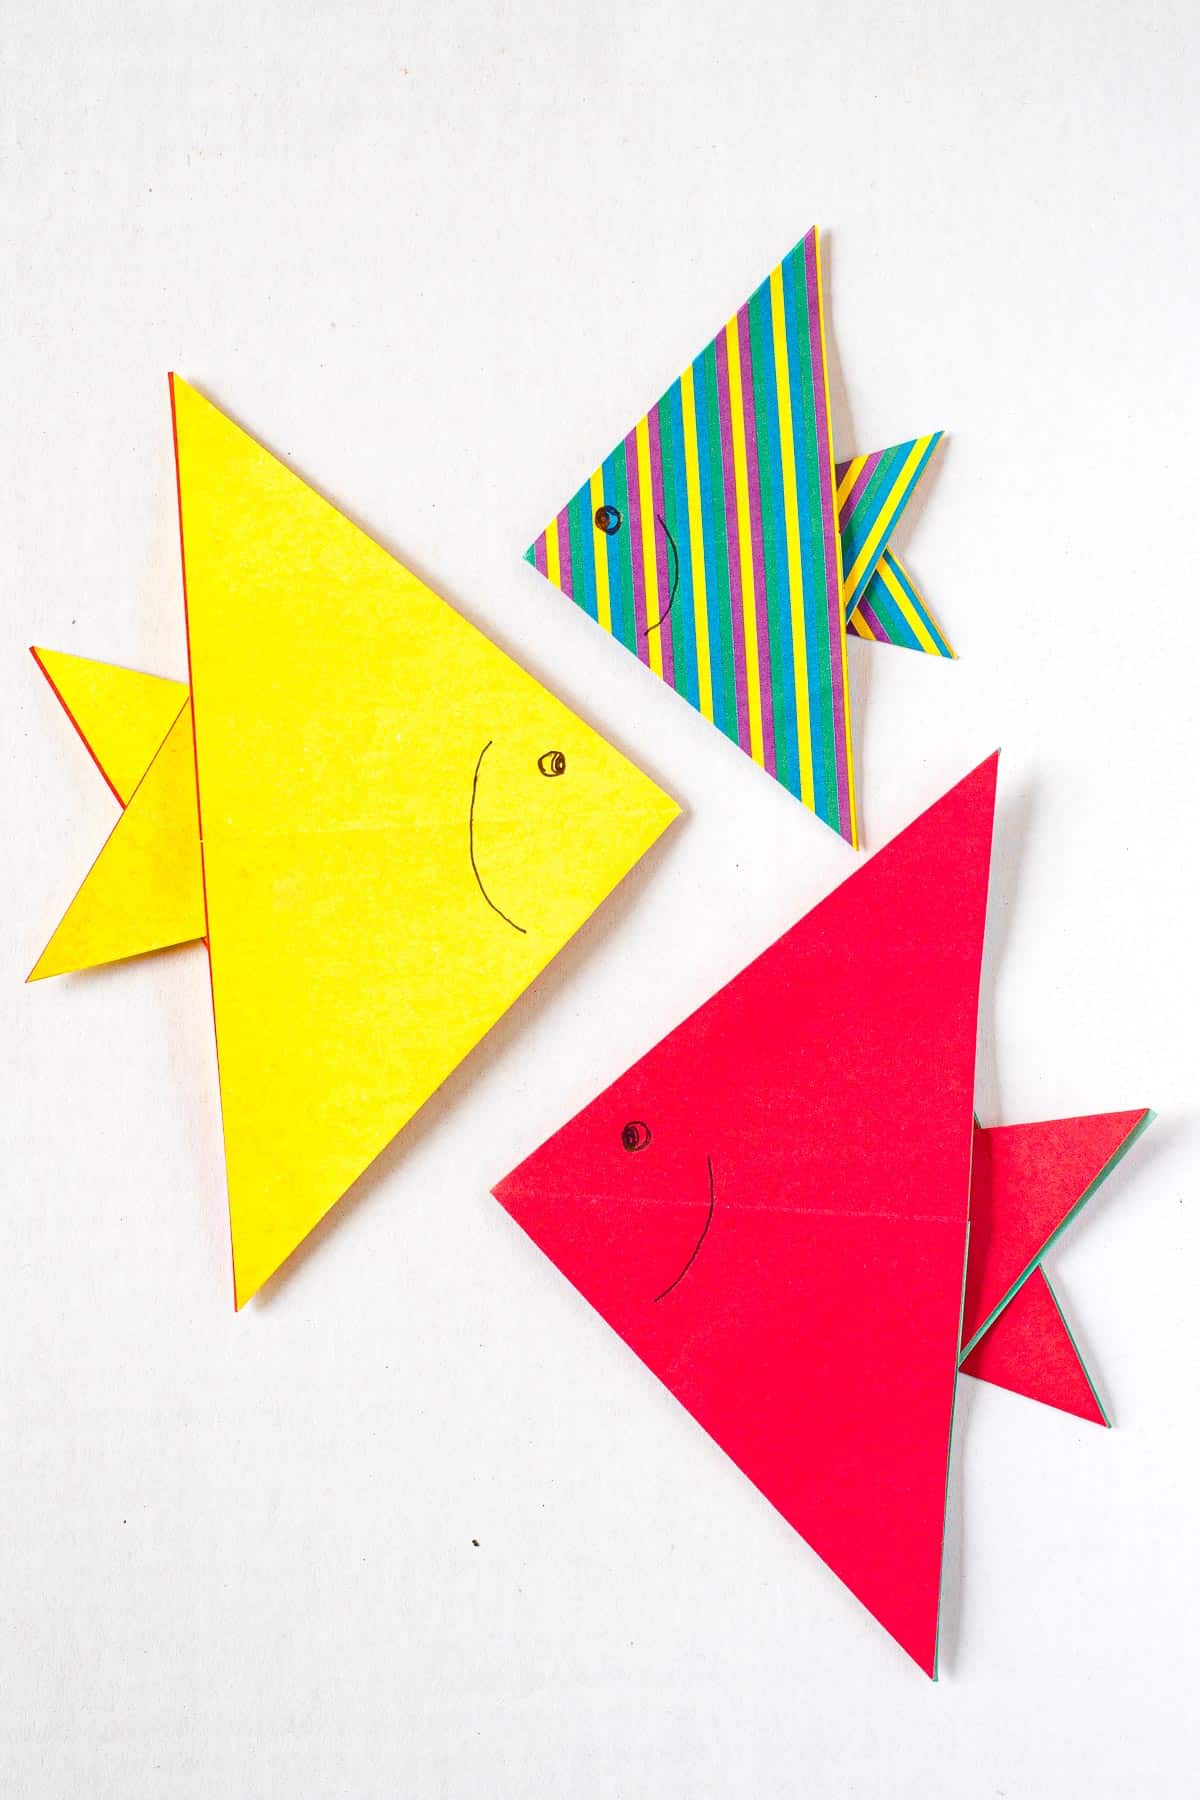
This easy origami fish is made using a single sheet of square craft paper and can be very quickly folded even by those without any origami skills. I used pre-cut origami paper measuring 15cm by 15cm. The paper is double sided, with pretty floral pattern on one side and plain red background on the other side. Nevertheless, depending on which side of the paper you choose for your fish, only one side will show on the finished origami fish.
The finished origami fish measures 15cm long and 10.5cm wide.
You can make this paper fish as a simple paper folding craft session with your children. You can also use this origami fish to decorate a handmade greeting card (by making the fish is a smaller piece of square paper and sticking it to the front of the card), or make pretty wall deco (by using blue tac to stick it to the wall). Make a school of paper fish and decorate your kid's room!
How to Make
Video Tutorial
Check out my video tutorial below on how to make this easy origami fish. And don't miss the section right below for the list of materials and step by step guide and images to make the paper fish.
Supplies
- One sheet of square origami paper (measuring 15cm by 15cm).
- Black marker
Instructions:
I have broken down the folding instructions into 5 steps as follows:
Making the folds

Place the paper on a flat workspace. The front section has floral design. The back section in plain maroon in color.
- First step is to fold the paper by bringing the opposite corners of the square sheet together. With the floral side facing up, fold the paper diagonally by bringing the bottom edge on the left to the top right corner. Make sure the corners are aligned. Unfold.
- Fold it diagonally again, this time by bringing the top right edge to the bottom left corner. Unfold.
- Turn the paper over. Fold it into 2 vertically. Unfold.
- Fold it into 2, horizontally. Unfold.
Forming a triangular tab for the body
Form a triangle as shown in the 4 steps below:
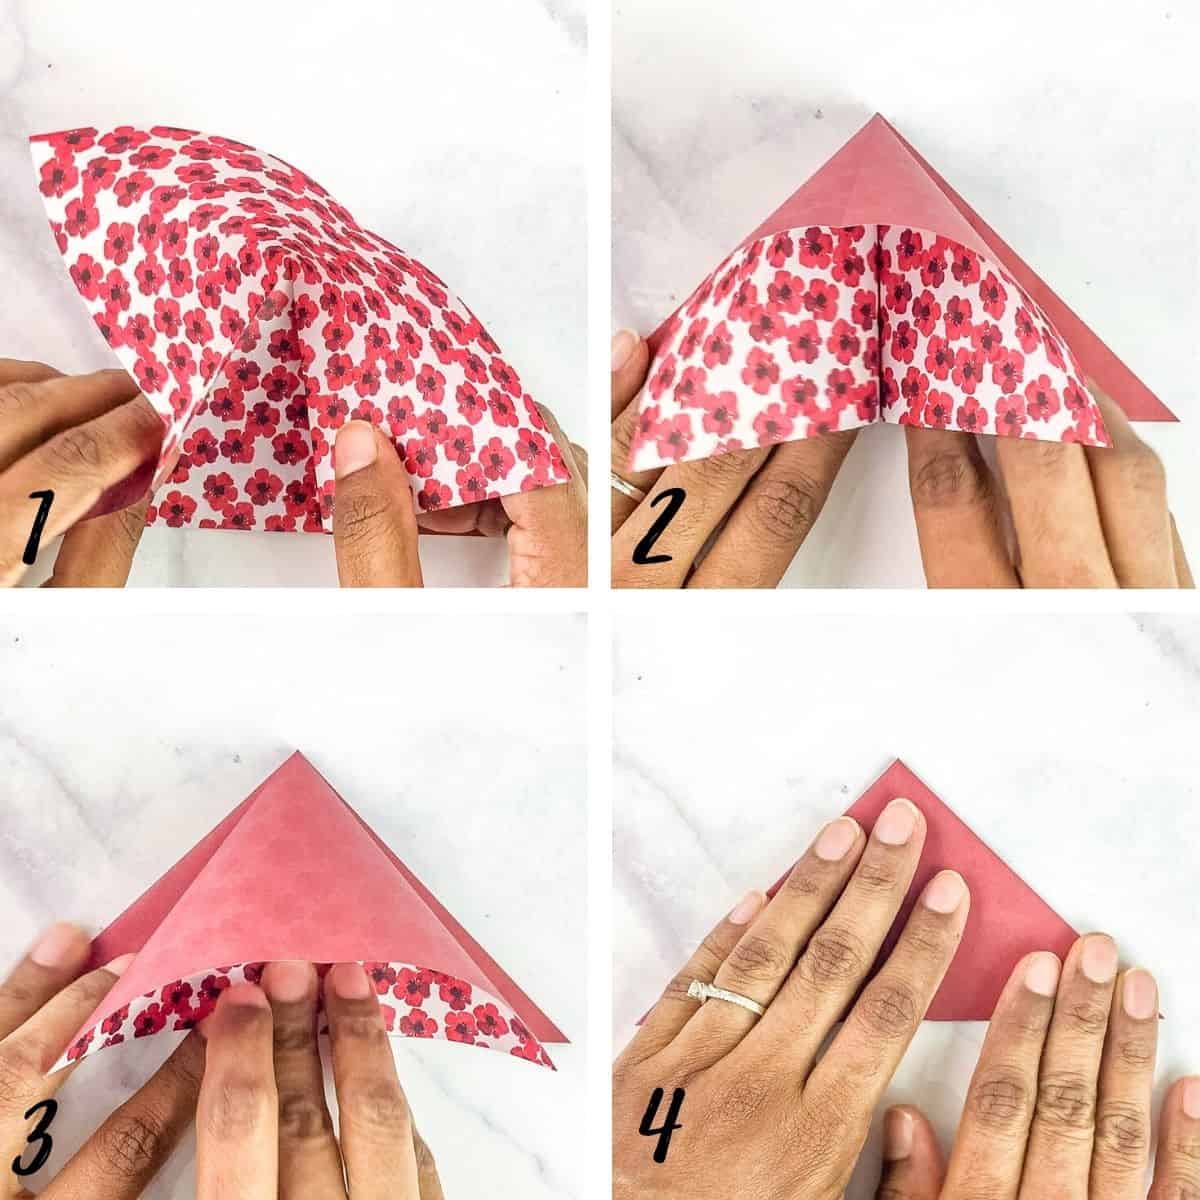
- Place the entire paper with the maroon side facing down on a flat surface. On the bottom half of the paper, fold along the diagonal lines formed earlier that run from both the bottom corner to the center of the paper into a triangle.
- As you do this, you will see that the top half of the paper also forming into a triangle.
- Press the paper along the folded lines to form a complete triangle.
- Lift the triangle and this is how it should look like.
Folding the tail
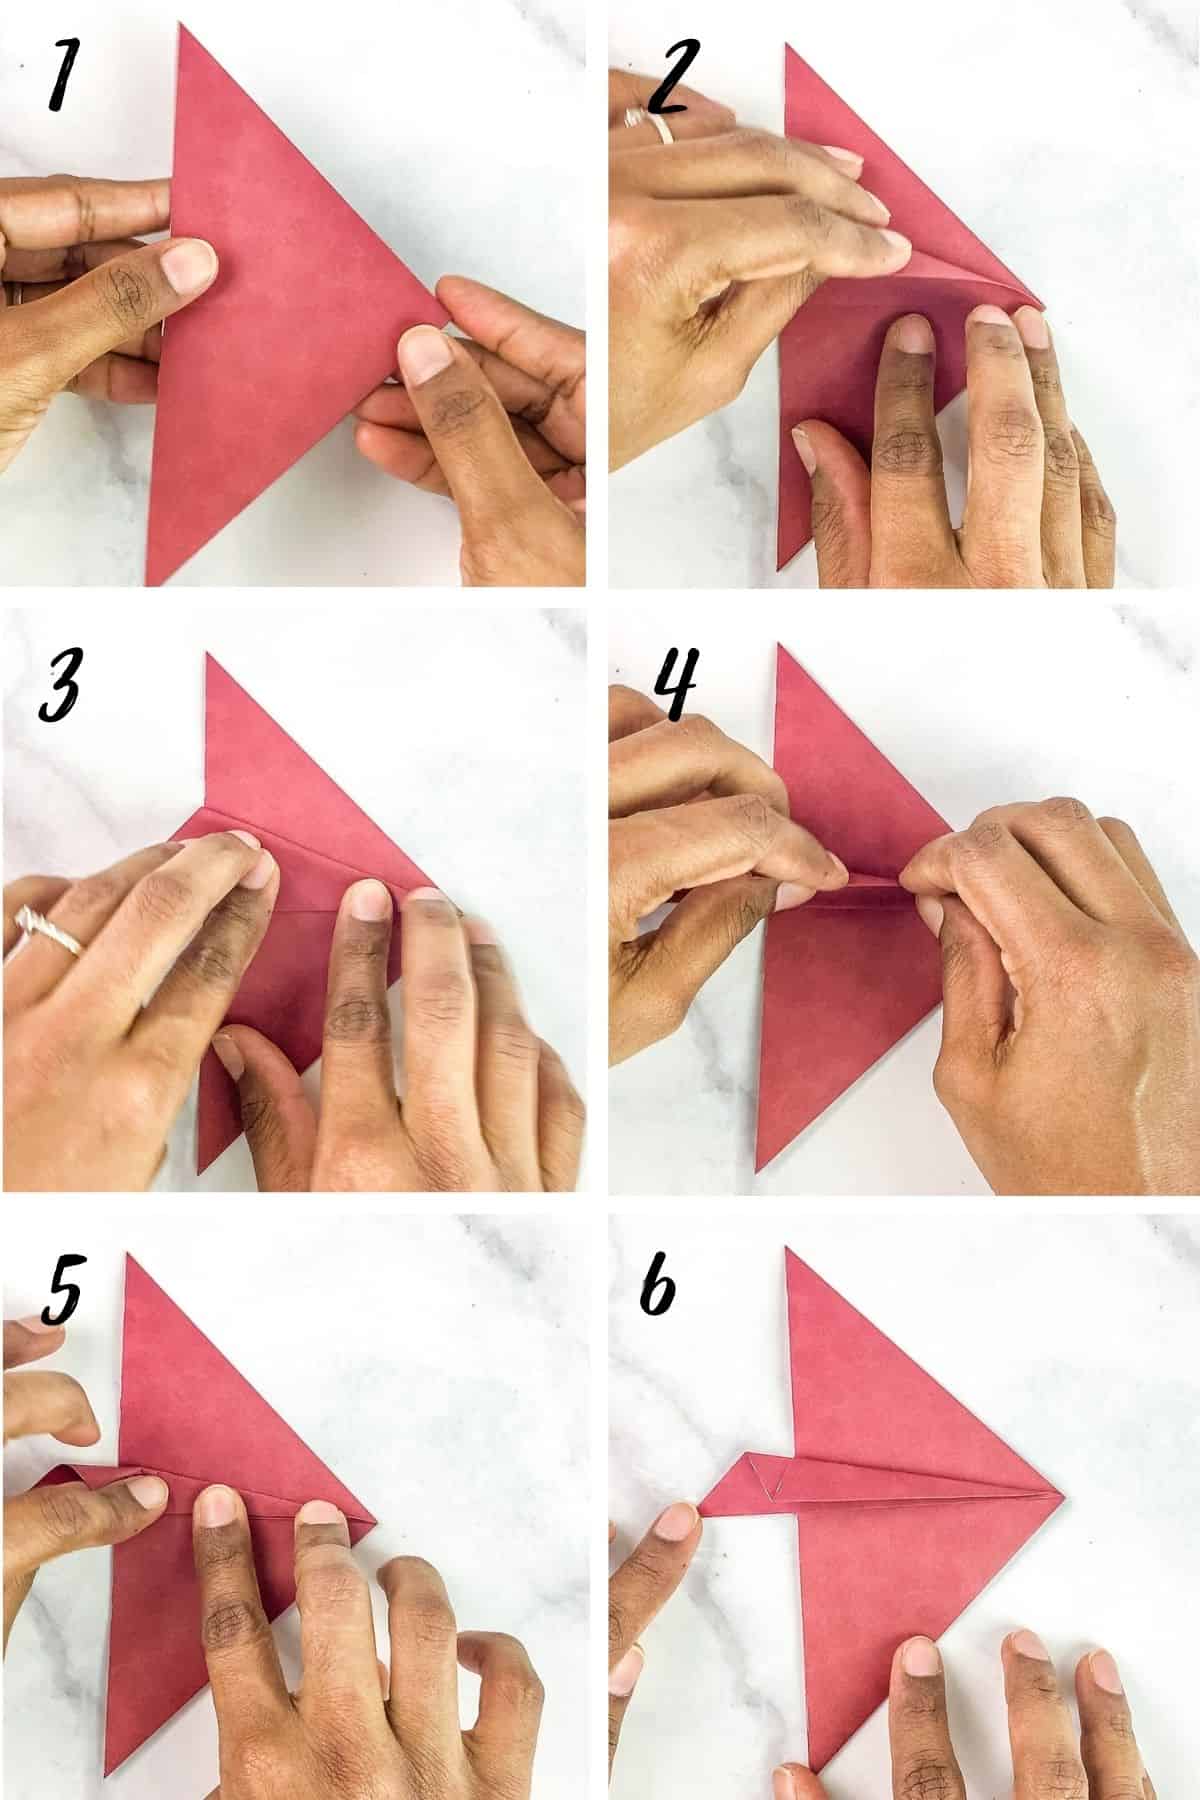
- Position the triangle on your workspace as shown.
- Lift the top section of the triangle as shown.
- Fold it to the center of the triangle.
- And then fold the folded section into half.
- Press the folds firmly.
- This is how the paper should look like after the folding.
Completing the fish tail
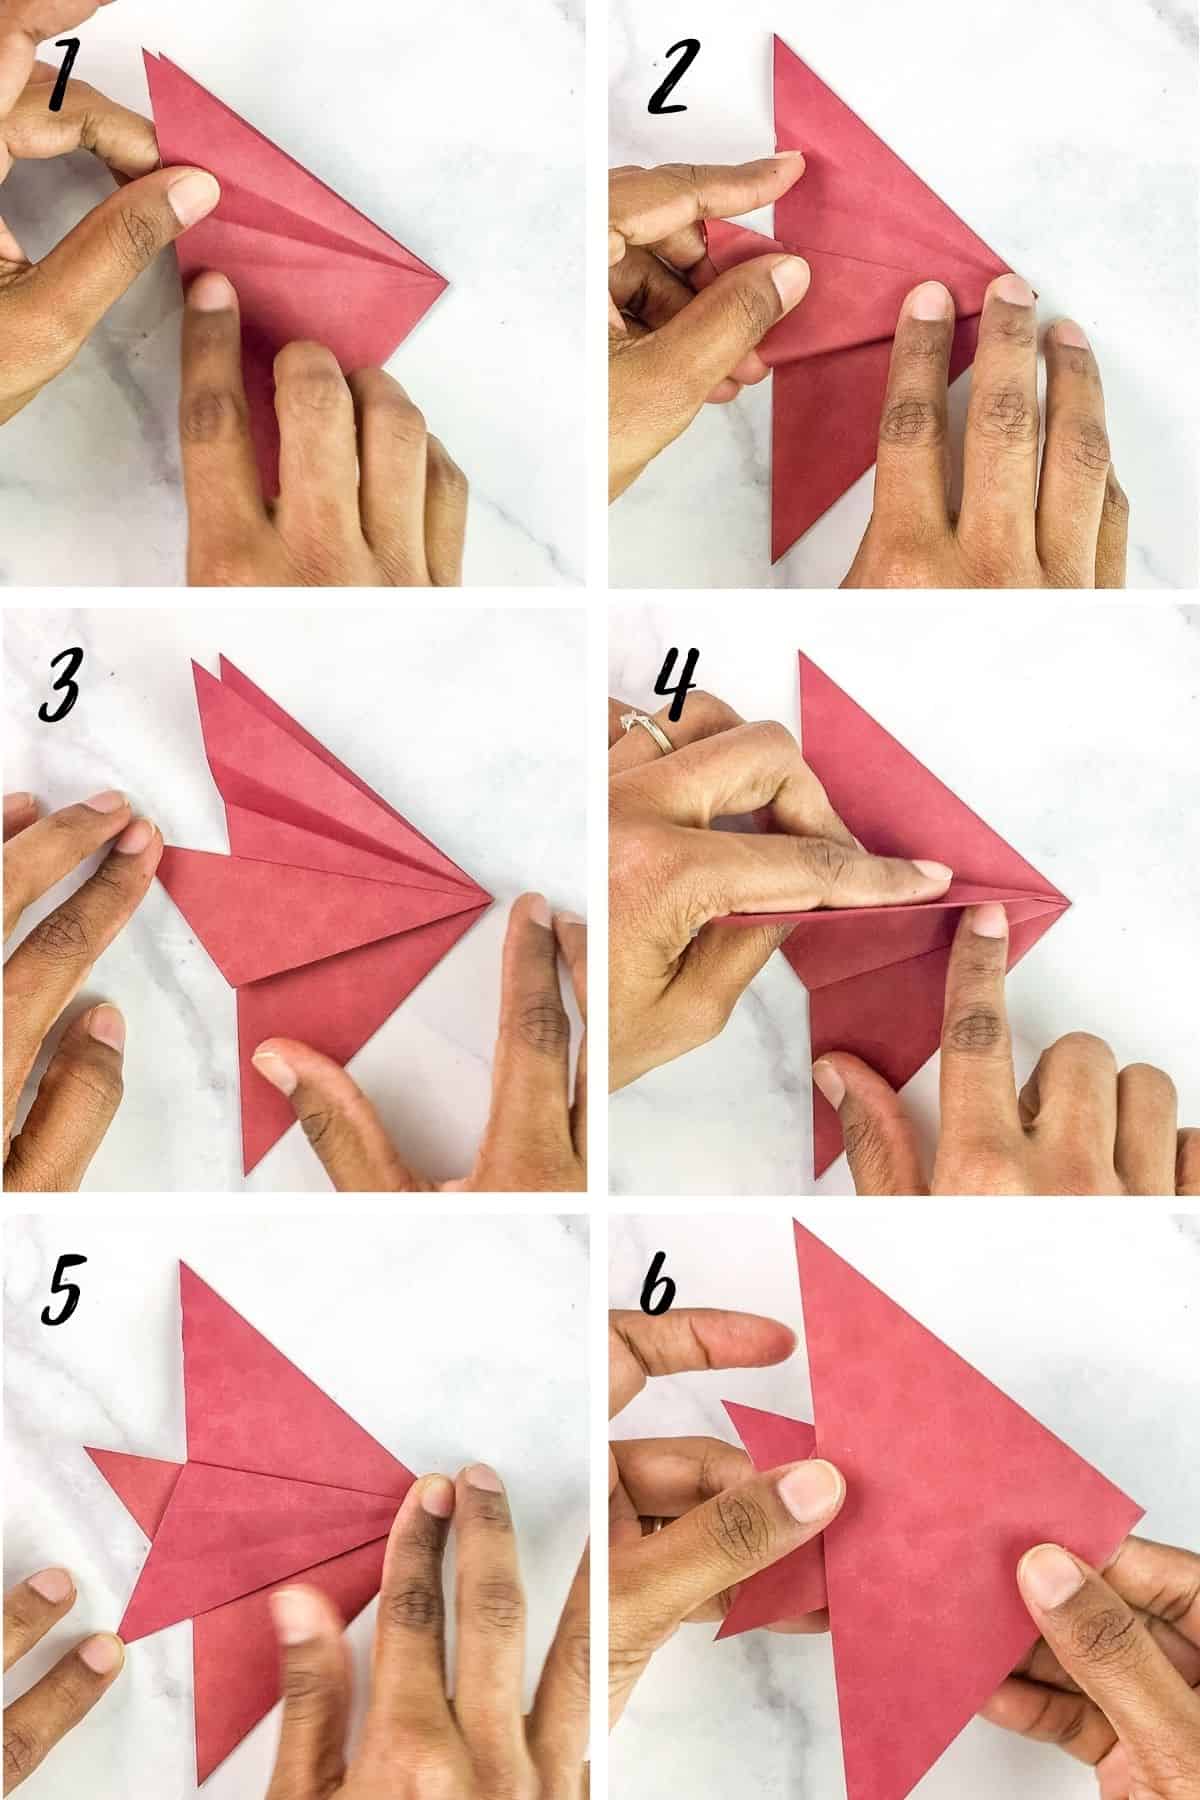
- Unfold the section. You will see 3 folded lines.
- With that section of the triangle still unfolded, bring the bottom flap (opposite section of the triangle) to the first line as shown. This makes half of the tail fin.
- Press it down firmly.
- Next, refold the earlier unfolded section along the first folded line (also where the opposite section of the triangle folded in the step above ends).
- This is how it should look like.
- Turn the folded paper over.
Marking the eyes
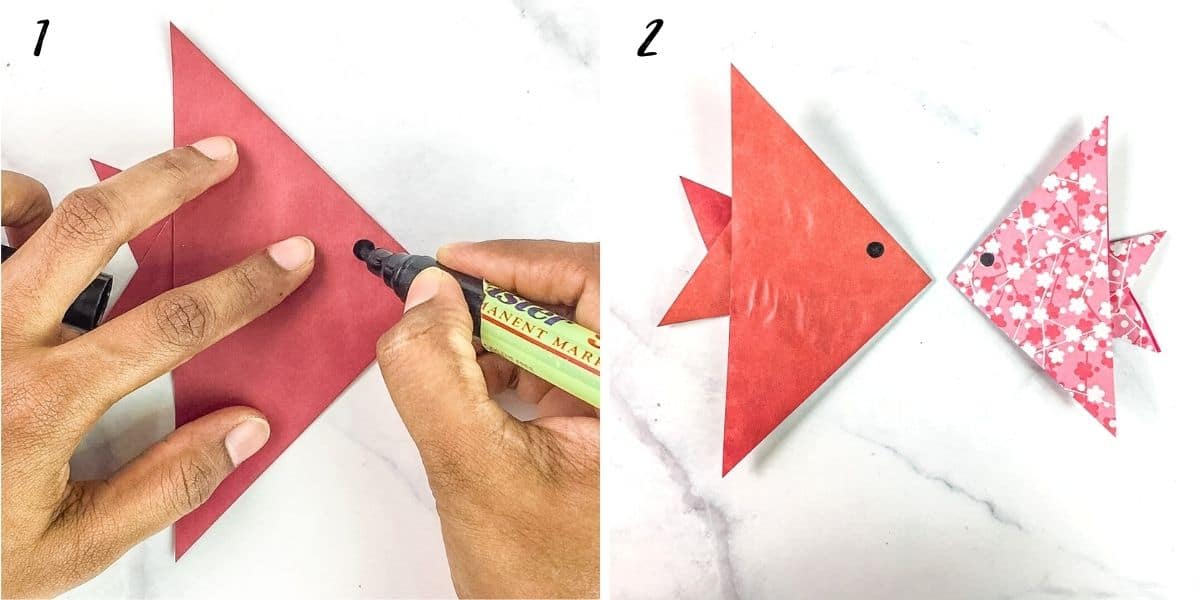
- To complete the paper fish, mark its eye in black marker.
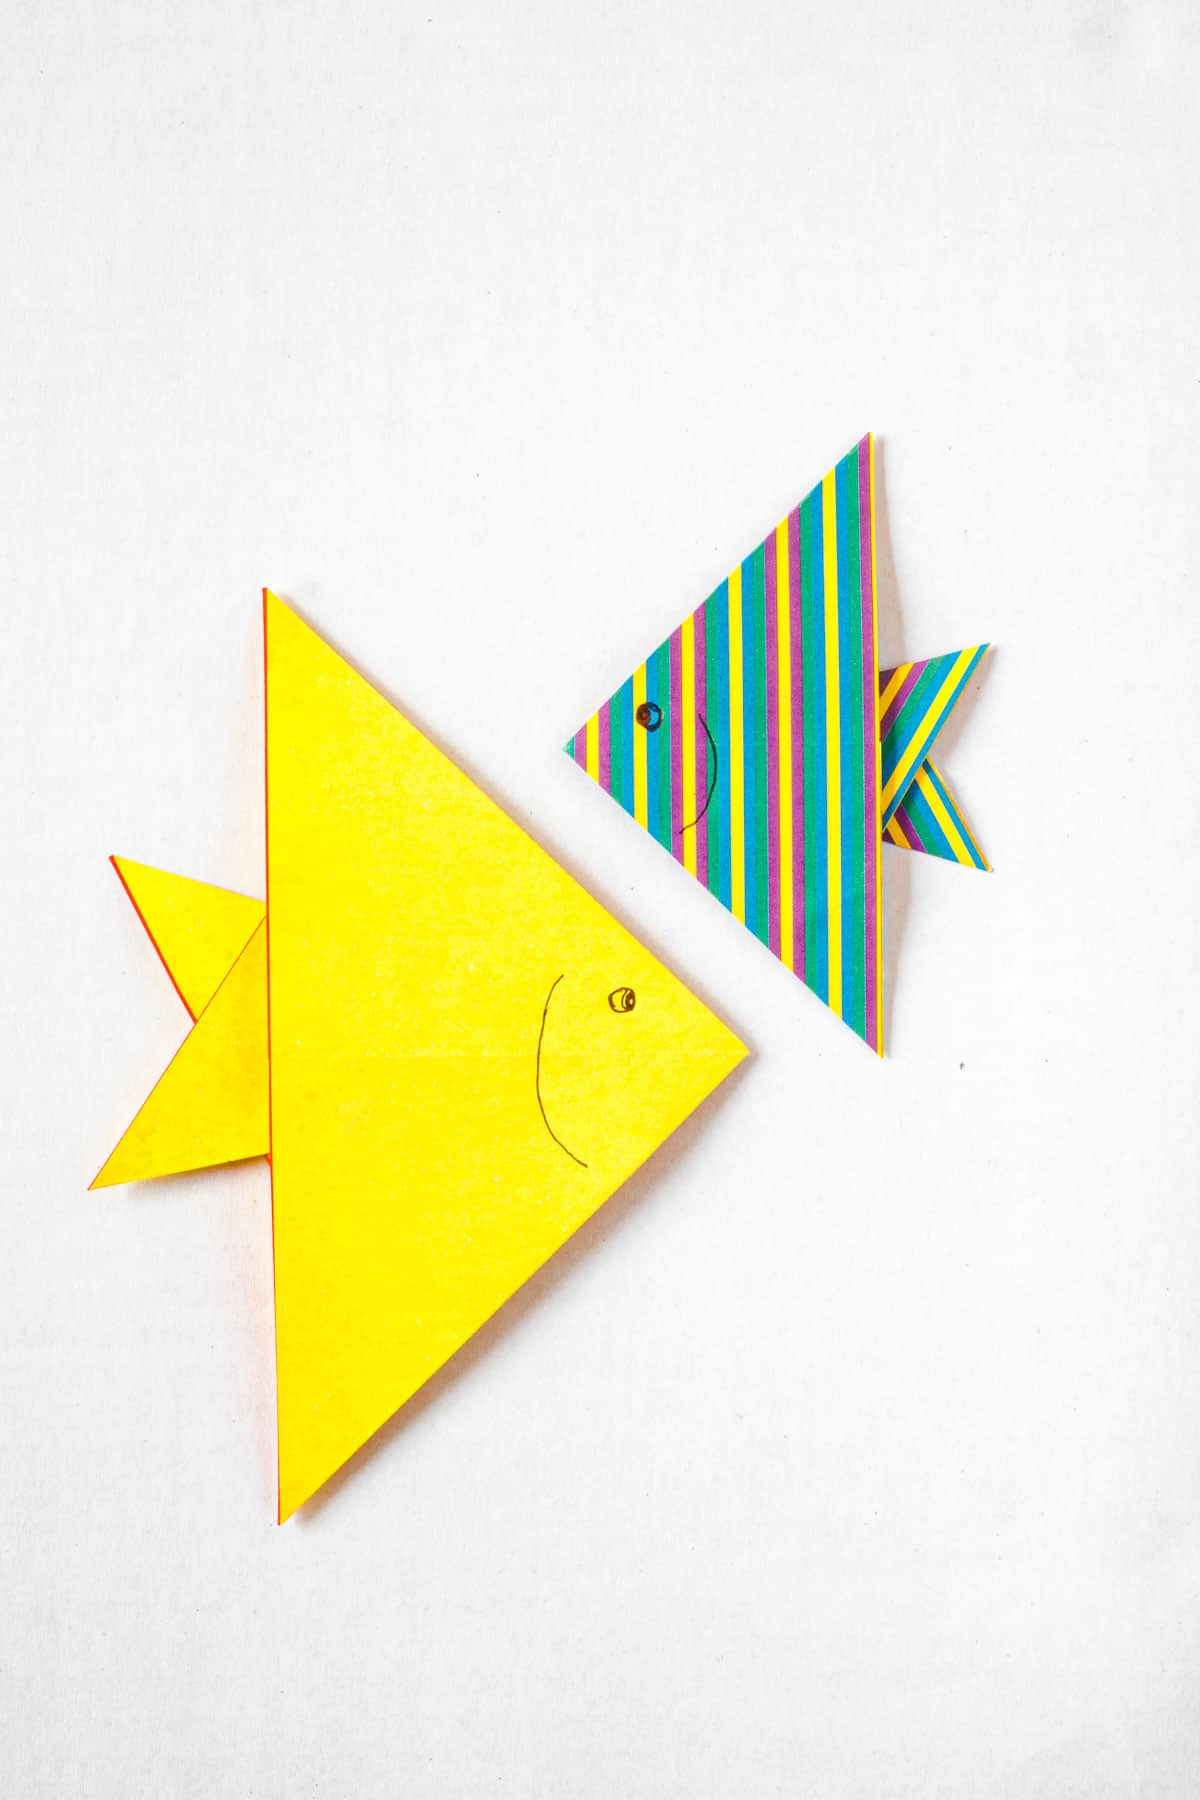
- And this is how the completed fish should look like.
Options
Paper size
- The most important factor in making this fish craft is to make sure you use a perfectly square piece of paper. I used a medium sized 15 cm by 15 cm origami paper.
- While I used pre-cut origami paper, you can always make these fishes in any other craft paper or color papers like blue paper or white paper or even colorful wrapping papers. All you need to make sure is to cut the paper into a perfect square.
- To adjust the size of the completed fish, use correspondingly different sized square papers. A larger square will make a larger fish and a smaller square will make a smaller paper fish.
Color and patterns
- If you use origami papers, you will notice that they are often sold with colors or patterns on both sides.
- For this origami fish, suffice if the paper is colored or patterned only on one side. This is because, the completed paper fish will only show one color, while the other side will be completely hidden.
What can you do with the fish origami
Make it as a crafting activity with your children
- This origami fish paper craft is a beginner origami project. It is also easy for children to make this craft. You can simply make this as a crafting activity with your children.
Use it to decorate a greeting card
- The completed paper fish or fishes can be used to decorate a greeting card. Make the fish as per the tutorial above in vibrant colors.
- Once completed, stick it onto a thick folded A4 sized paper. You can stick the fish right in front on even on the inside. Decorate it further with a border and complete the card with a handwritten message for a perfectly cute handmade greeting card.
Make it into a bookmark

- This paper fish can also be turned into a bookmark.
- Simply attach a string to the mouth and use it to mark the top edge of the pages your book.
- Alternatively, you can also use this origami fish as a corner bookmark.
- To use the paper fish as a bookmark, it is best made in a smaller size paper to ensure it can be used for both small and large books.
Make a school of paper fish in different sizes and decorate your kids' bedroom wall
- The paper fish is also a creative idea to make pretty wall deco, especially for kids room.
- Make the fishes with your child in different sizes and colors.
- Find a wall spot in your child's room and attach them to wall with blue tack.
Like this easy paper fish? Here are my other craft ideas you might want to check out:
- How to Make Origami Koi Fish
- How to Make Faux Leather Earrings (without Cricut)
- Earring Making for Beginners - 2 Easy Projects
- How to Make Seed Bead Earrings (Hoops)
- How to Make Beaded Hoop Earrings
Happy Crafting 🙂
Leave a Reply