
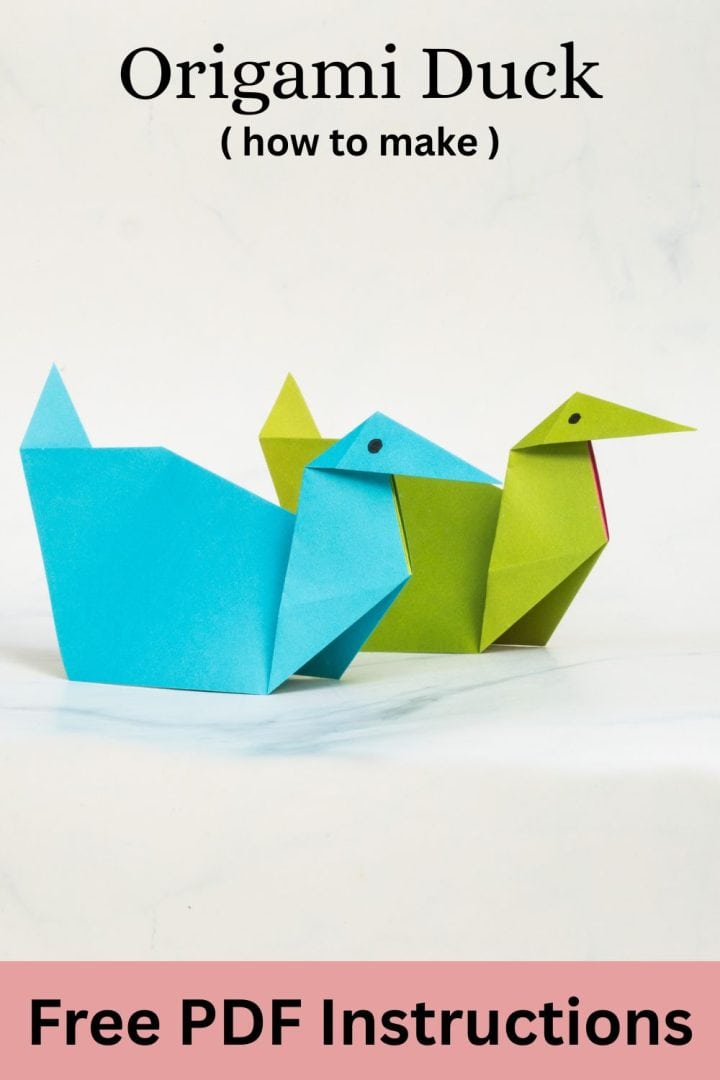
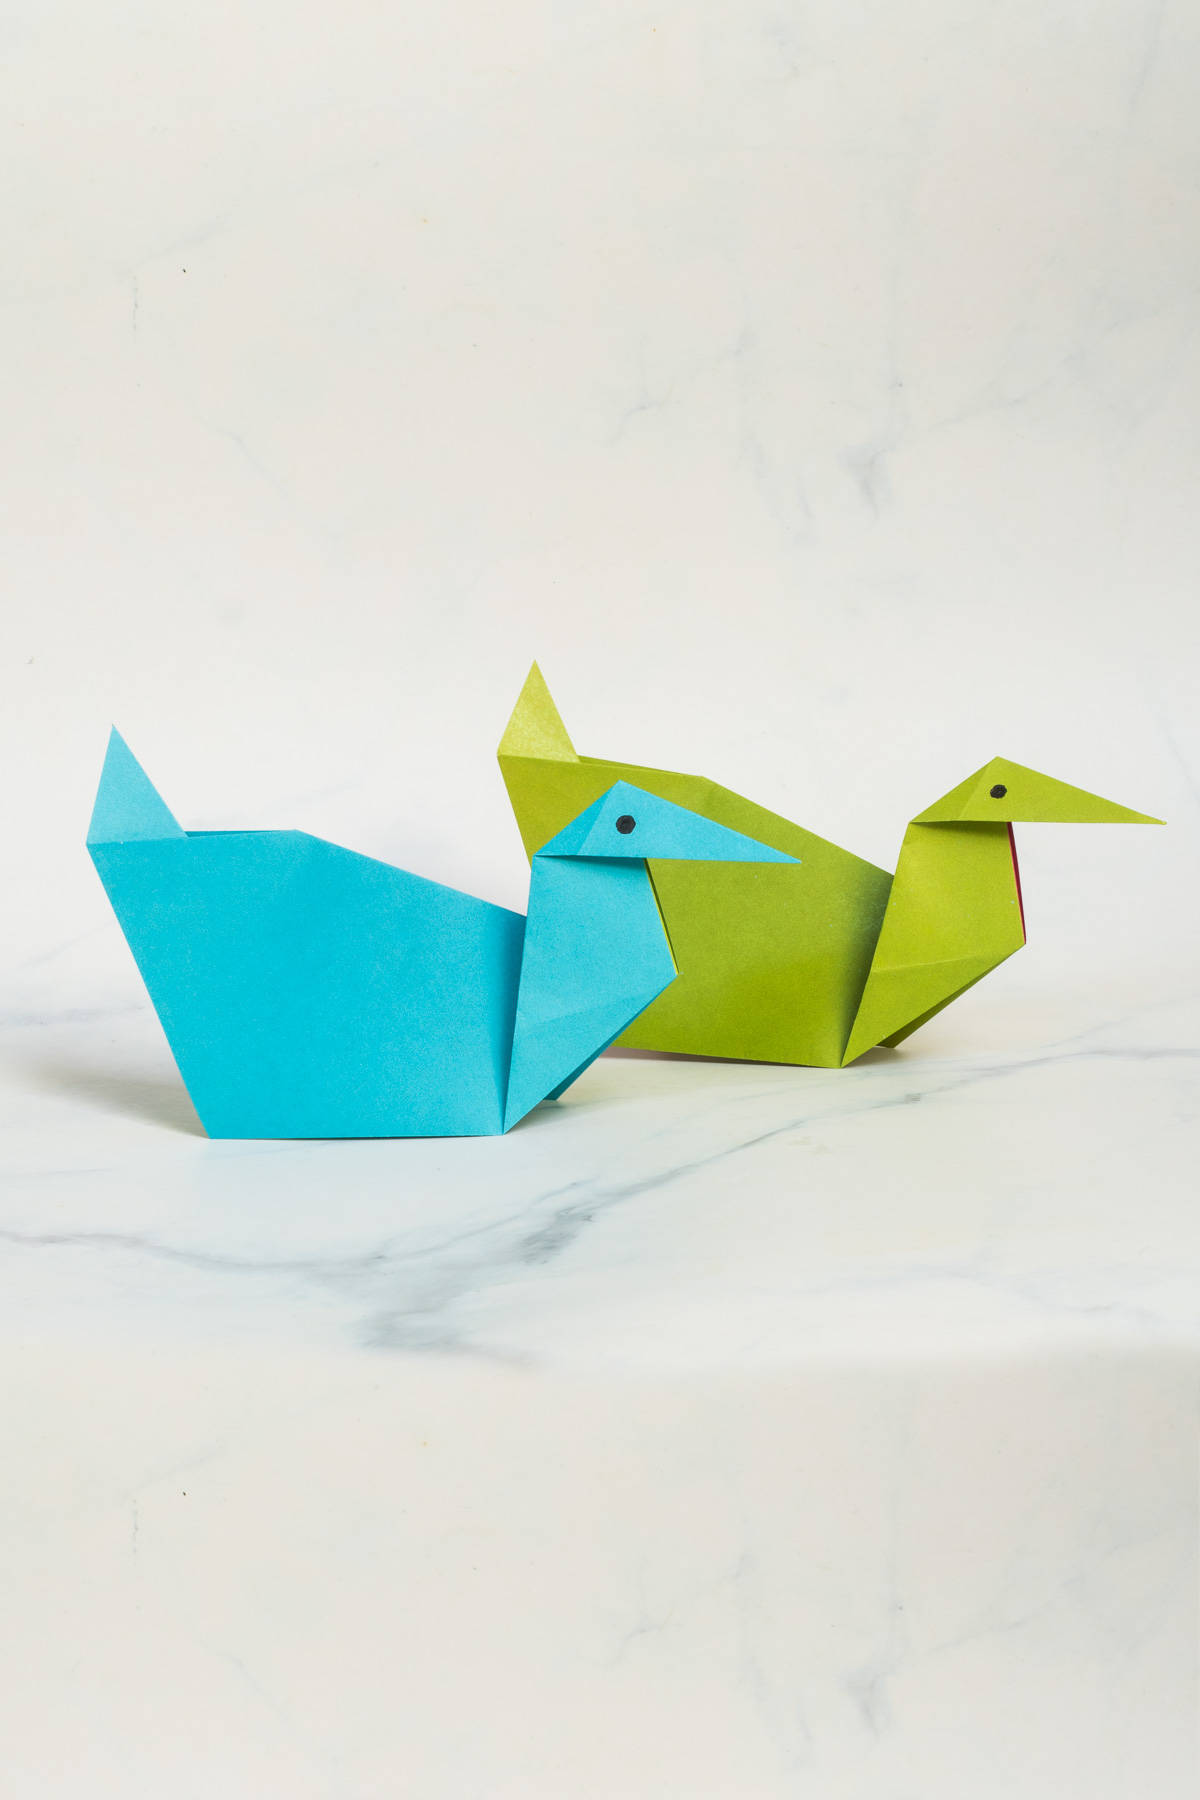
Learn how to make easy origami duck with this step by step tutorial and video guide. With just a few simple and basic folds, you can make these paper ducks in under 5 minutes!
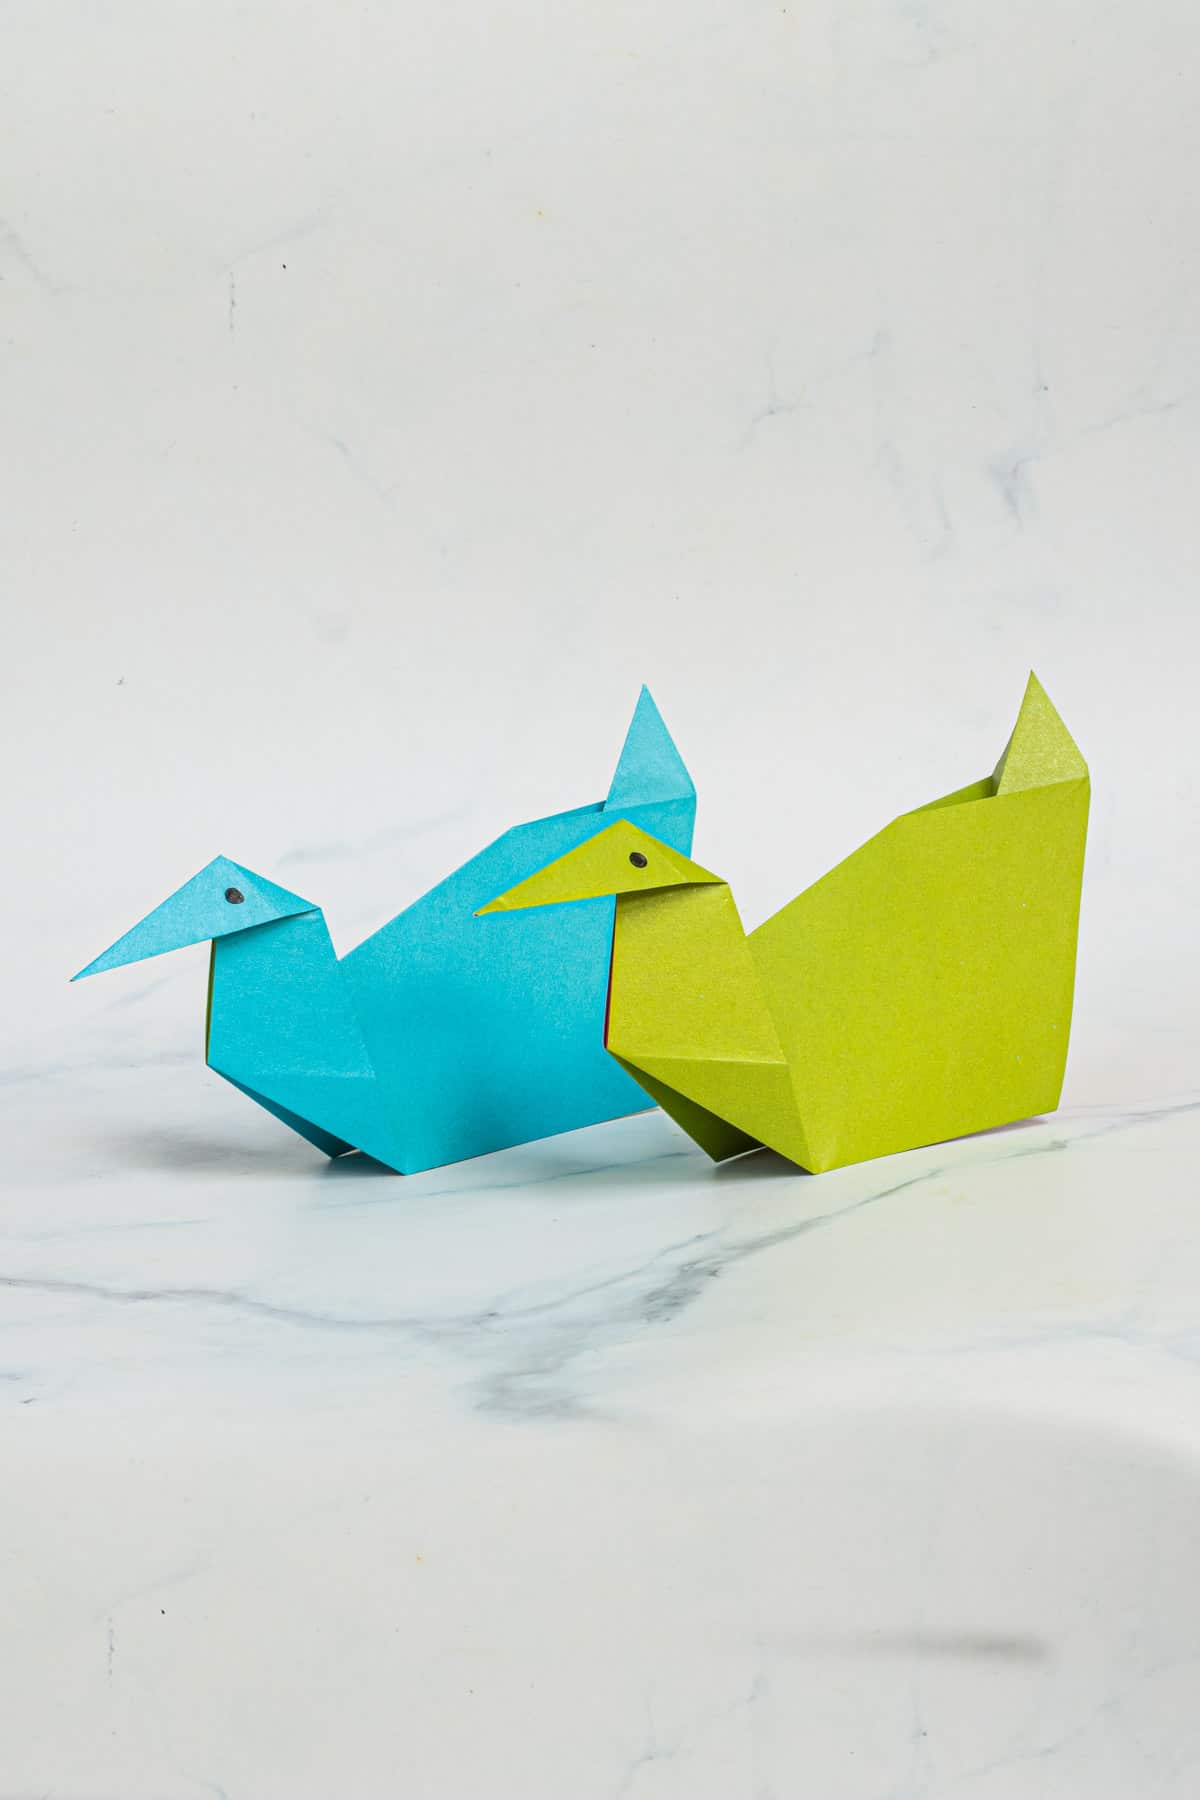
This is a beginner origami tutorial. The ducks are made using a square sheet of pre-cut origami paper measuring 15 cm by 15cm. I used a double sided paper with different color on each side, but single sided paper is all you need as the finished ducks will only show one side of the paper.
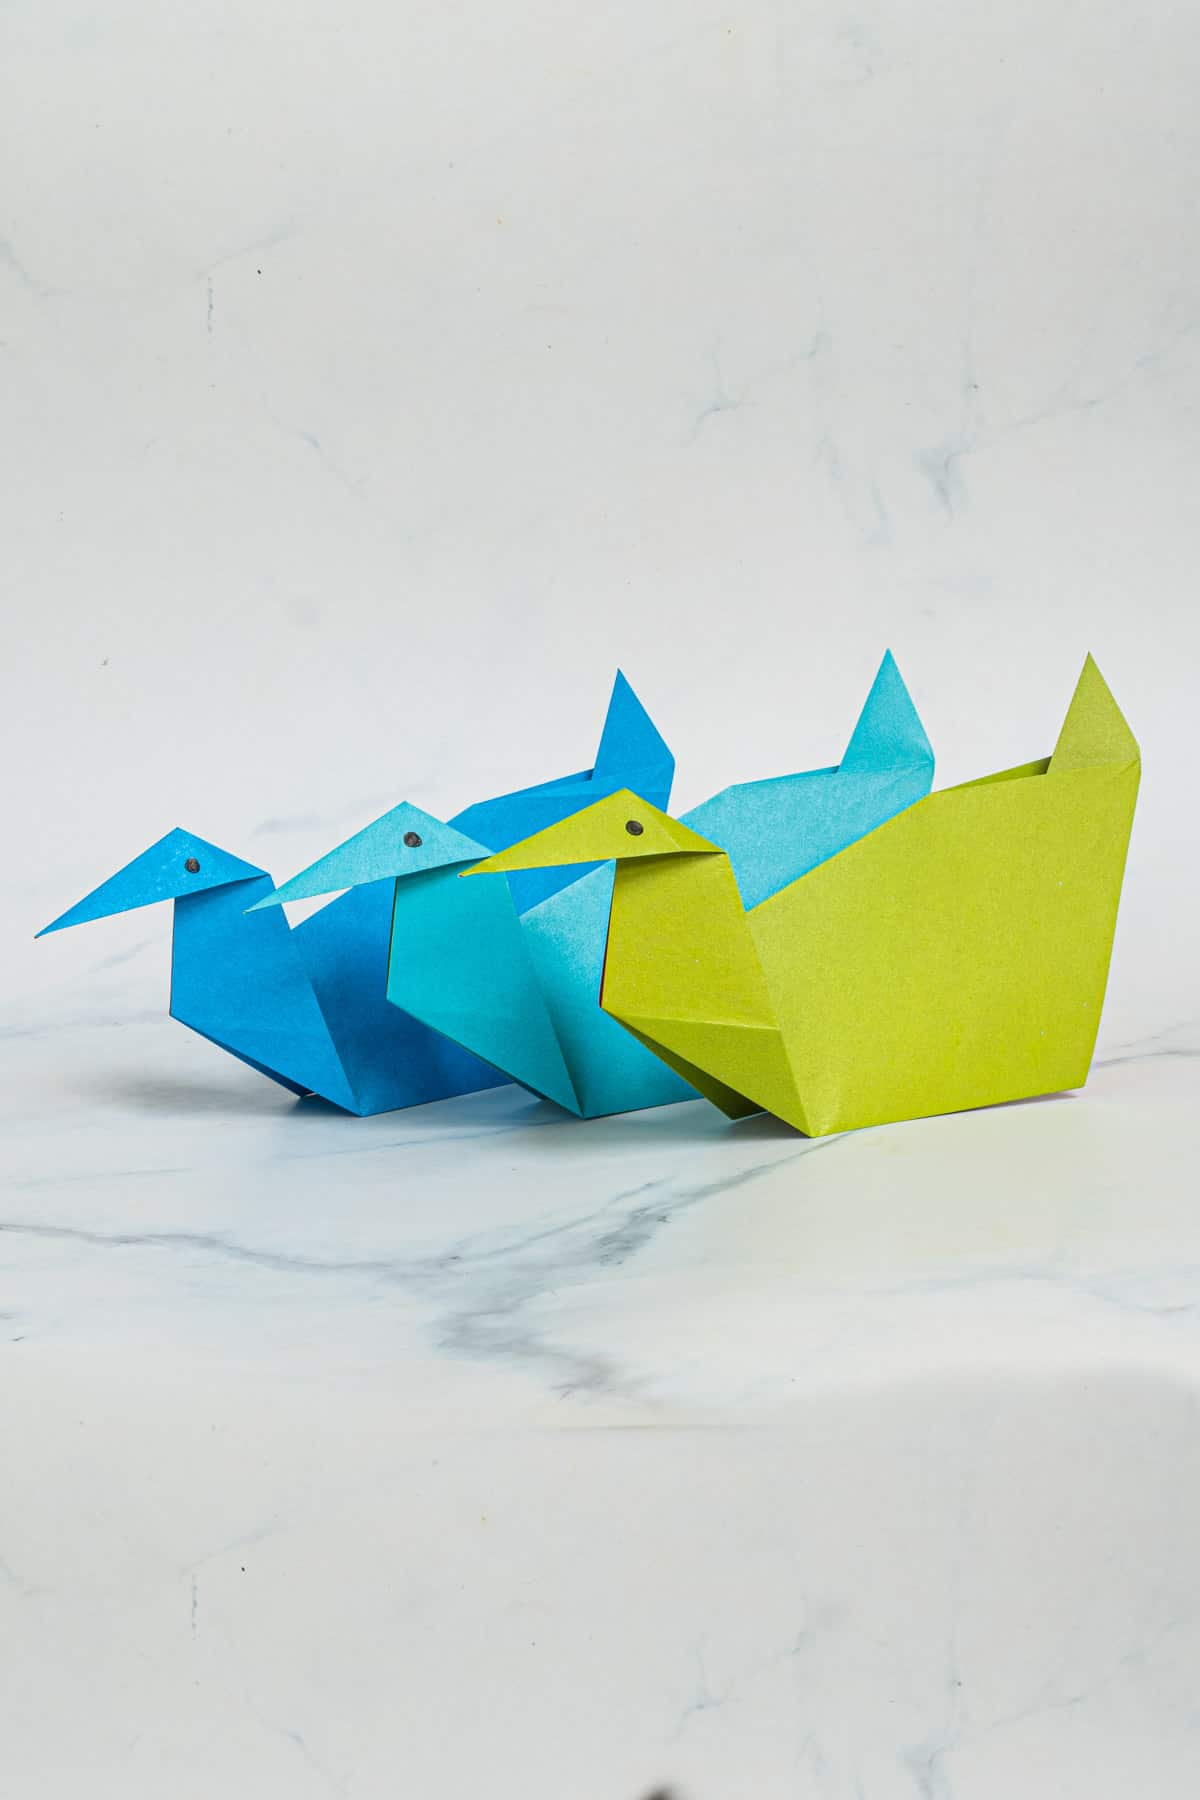
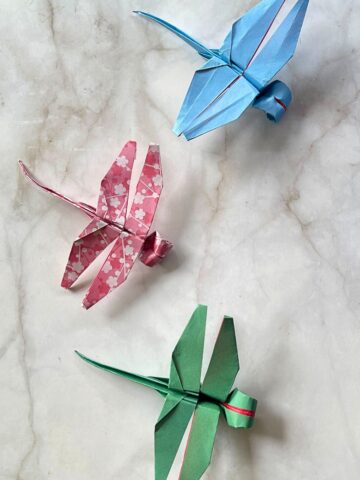
Each origami duck measures 15cm wide and 8cm tall.
Here are my other origami models you might want to check out as well:
Jump to:
🎥Video Tutorial
Here is the video tutorial on how to make origami ducks. The full list of materials and step by step instructions and images are right below.
🧾Supplies
- Single sheet of square origami paper (measuring 15cm by 15cm). This can be a single sided paper.
✂️How to Make
Step 1: Make the body
Place the paper with the colored side facing down. In this tutorial, I am using a double sided paper with blue on one side and green on the other. I am making a blue duck, so the blue side is facing down and the green side of the paper is facing up.
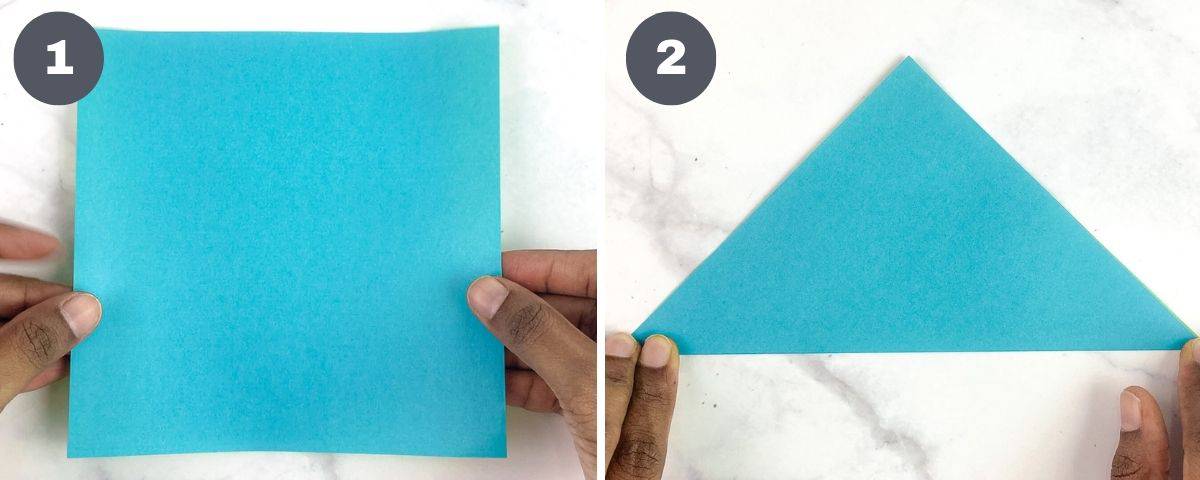
Fold the paper diagonally by bringing the left bottom corner to the top right corner. Press the fold firmly and then unfold. Turn the folded paper as shown (images 1 & 2).
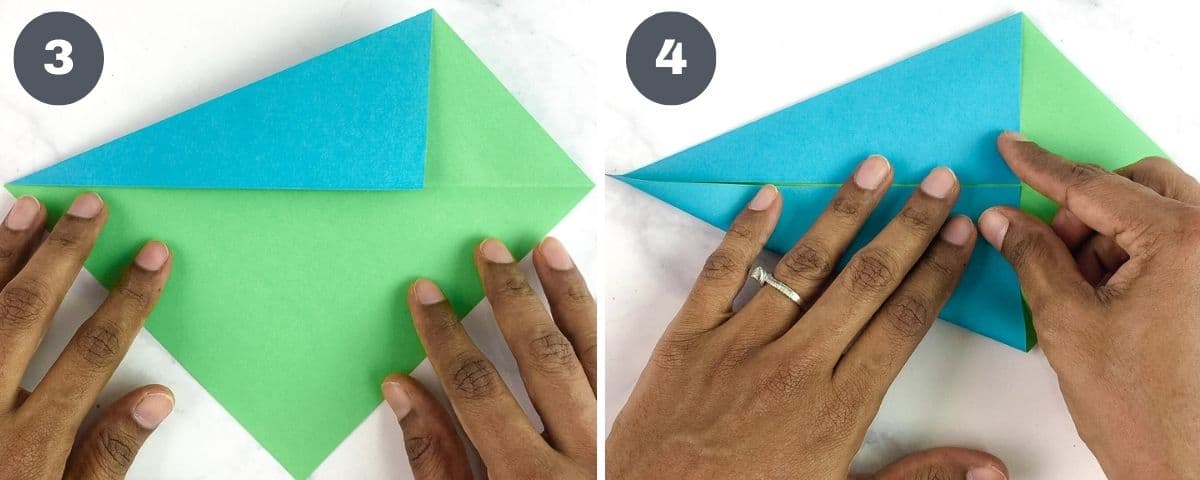
Place the paper down with the folded crease line in the previous step above positioned horizontally. Bring the top left edge to the center crease line. Press the fold (image 3).
Repeat with the bottom left edge (image 4).
Step 2: Fold the head
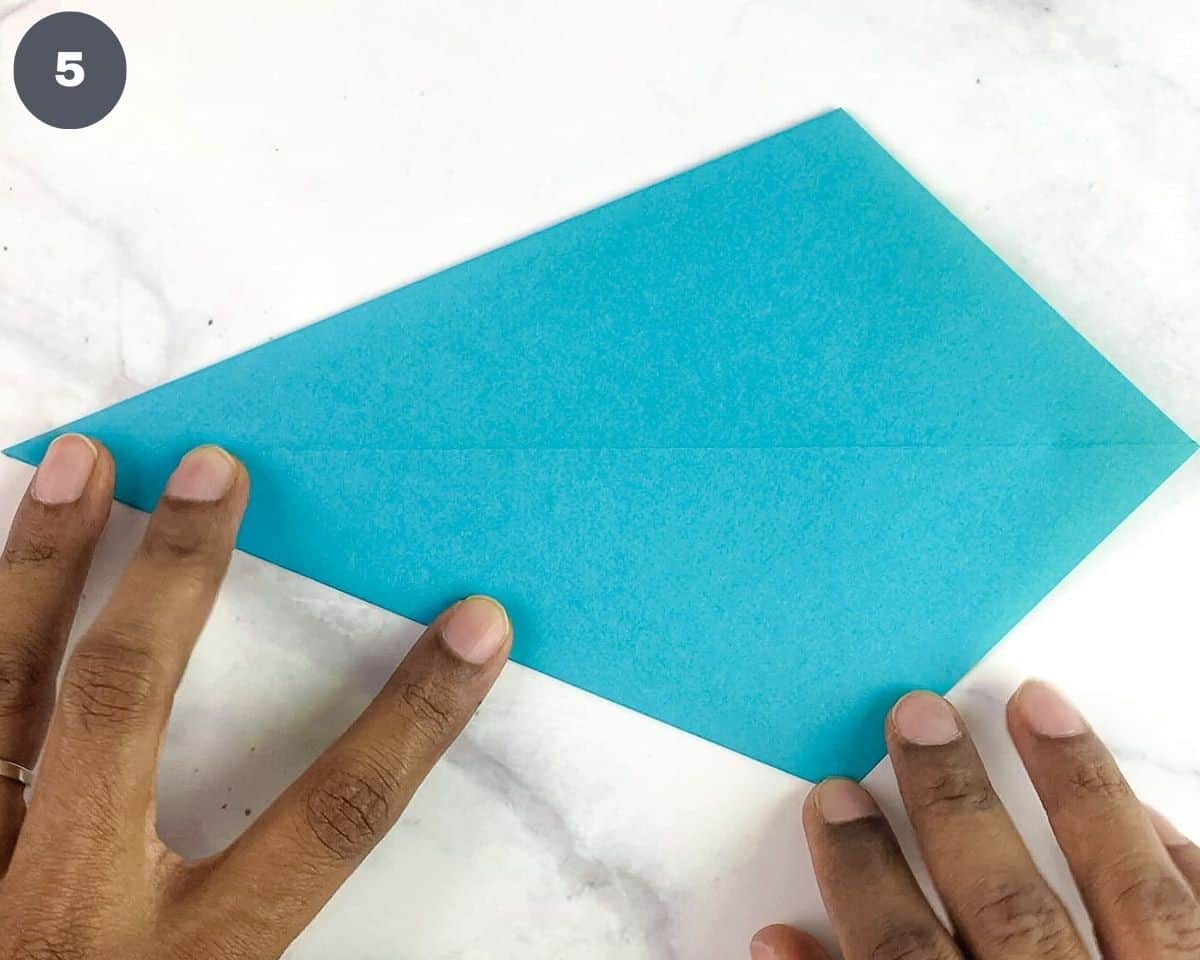
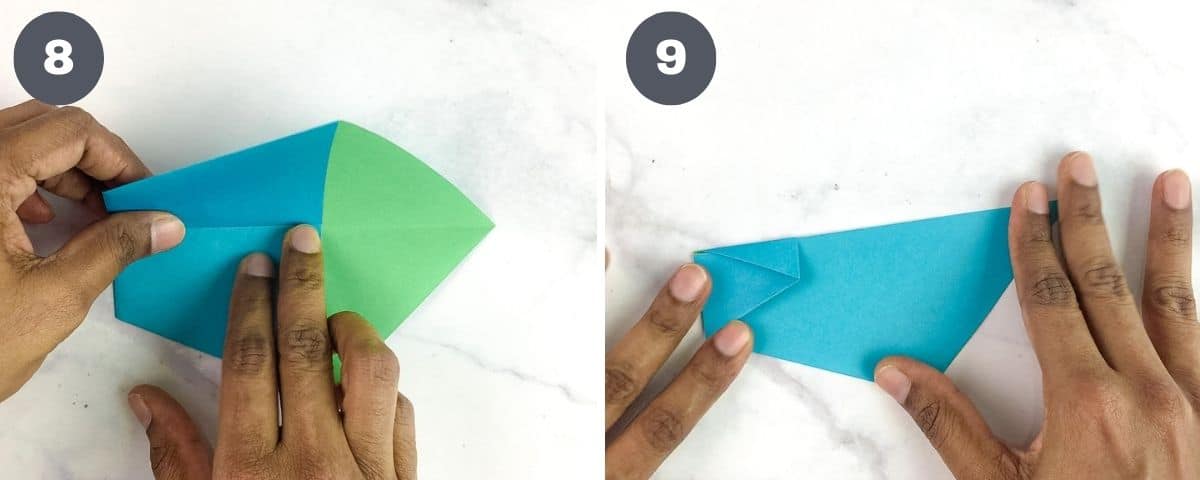
Next step is to make the head. Turn the paper over (image 5).

Bring the pointed end on the left to the right, stopping it at the intersection of the top and bottom corners as well as the right and left corners. Press the fold (image 6).
Lift the same pointed end and fold in back to the left, with the tip placed exactly at the fold in the step above (image 7).
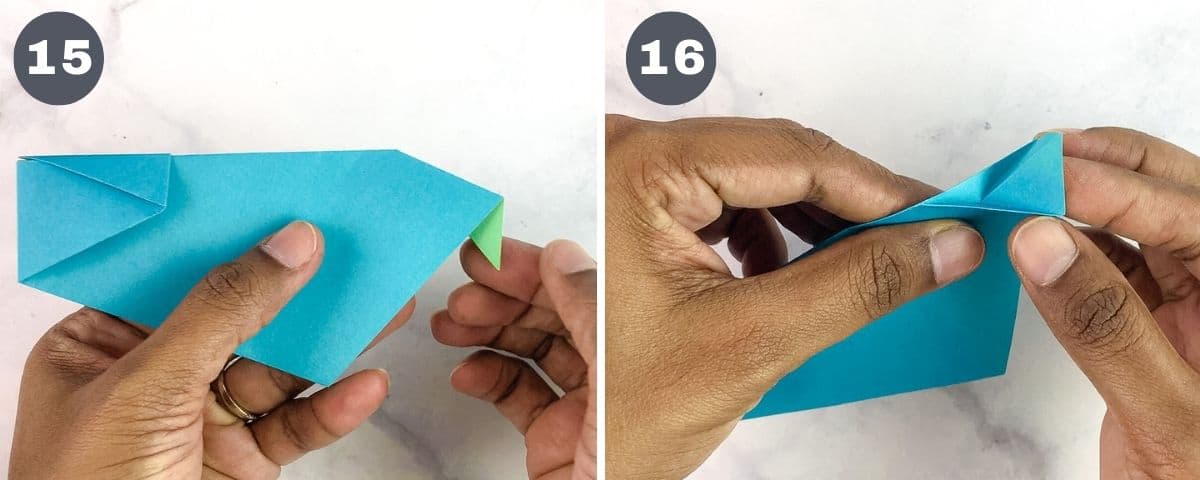
Step 3: Fold the tail
Turn the paper over and fold it horizontally along the line that is already present horizontally on the paper (images 8 & 9).
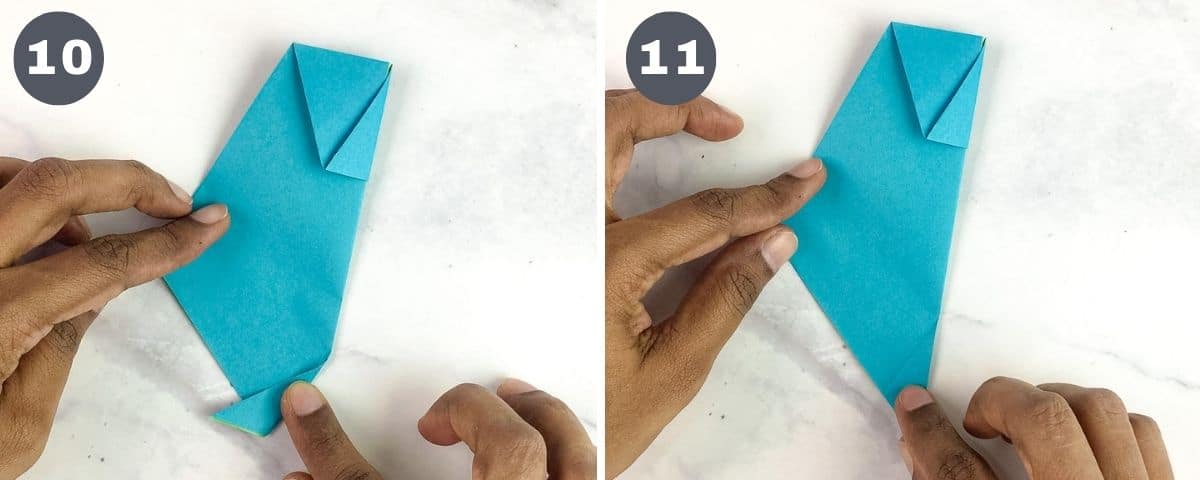
Place the paper as shown. Lift the bottom tip and fold it to the left. Unfold (images 10 & 11).
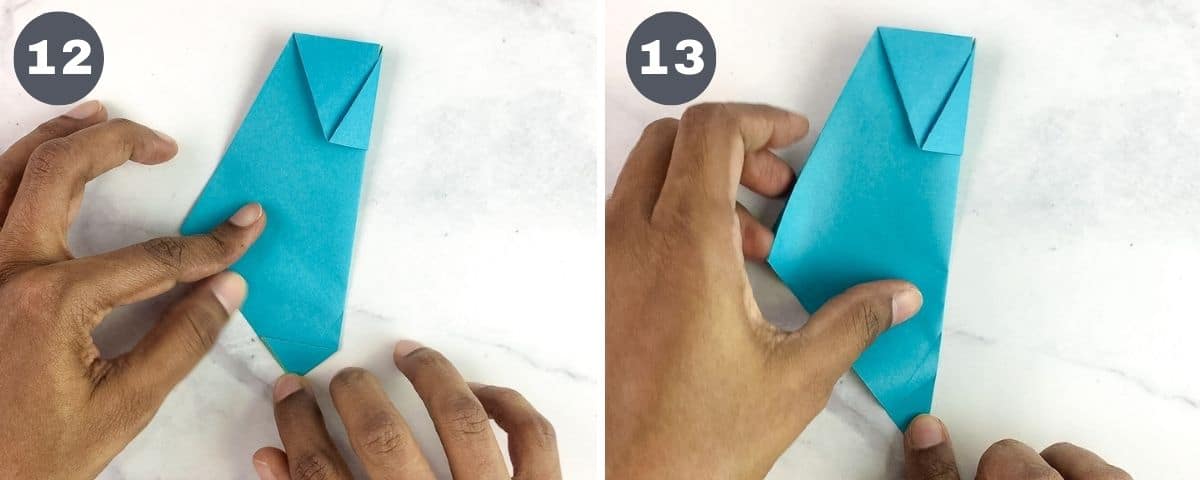
Re-fold the tip as shown (image 12). Press the fold and unfold the paper (image 13).
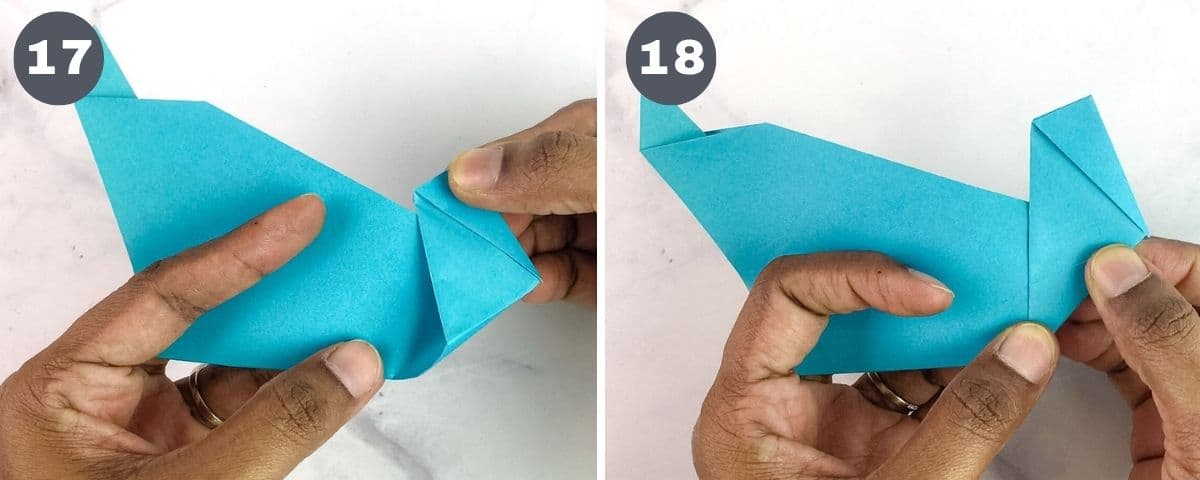
Open up the fold made earlier (image 14).
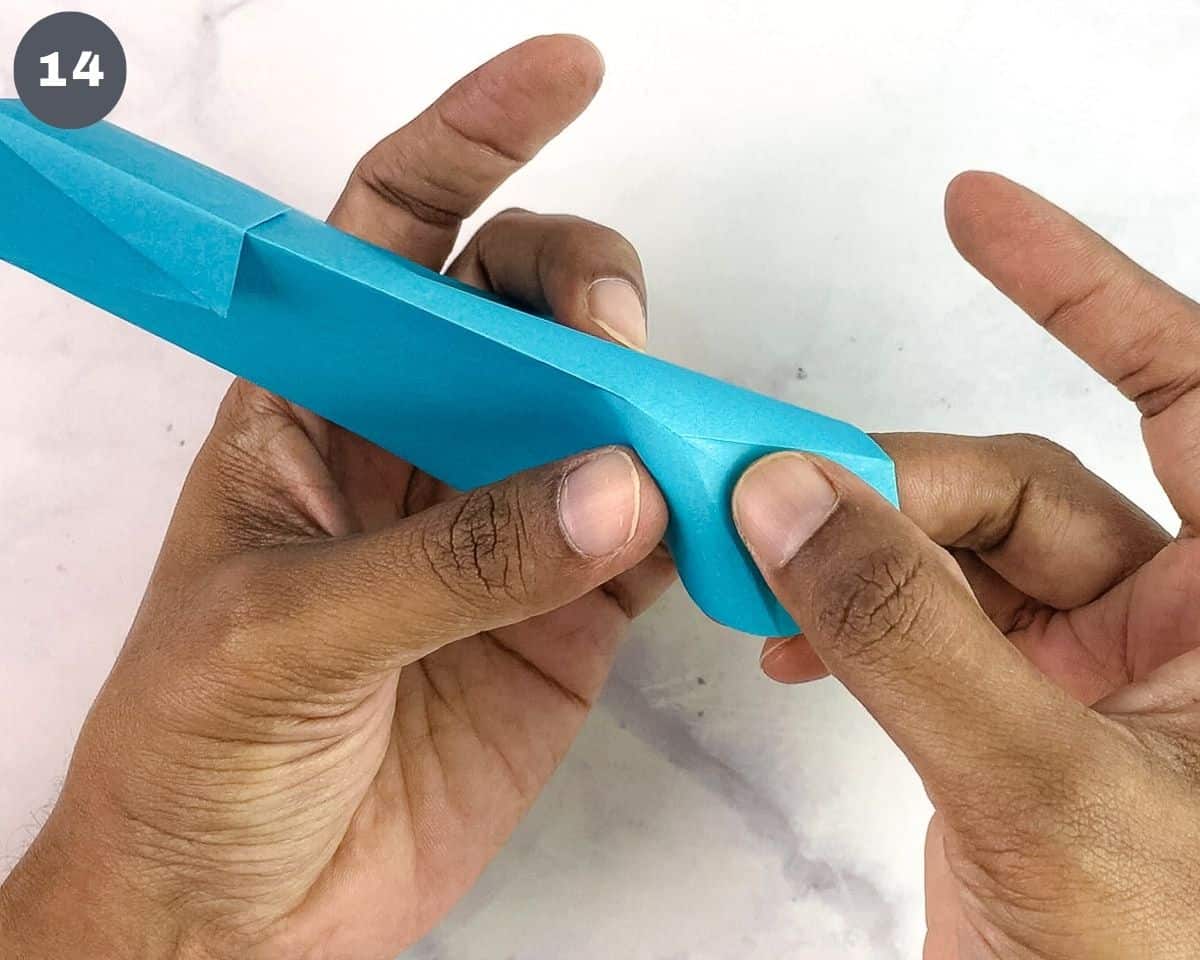
Push the tail inside along the first set of folded lines as shown (image 15).
Push it up again along the second set of folded lines (image 16) to complete the tail.
Step 4: Bring out the head and draw the eyes
Hold the head section as shown (image 17) and gently pull it up to form the neck. Press the folds to hold it in position at an angle you prefer (image 18).
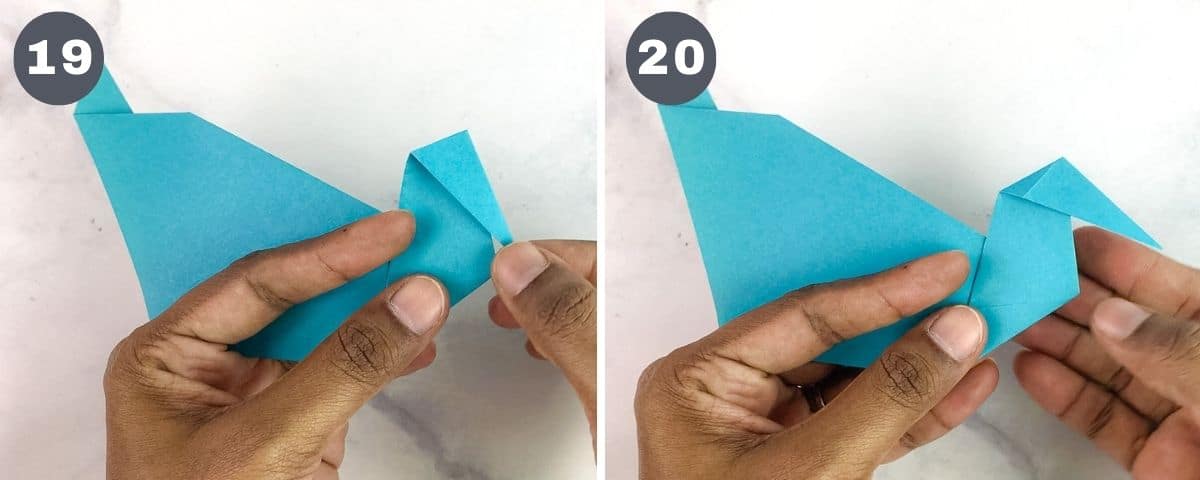
Next, hold the pointed tip and pull it up to form the beak. Press the folds to hold it in position (images 19 & 20).
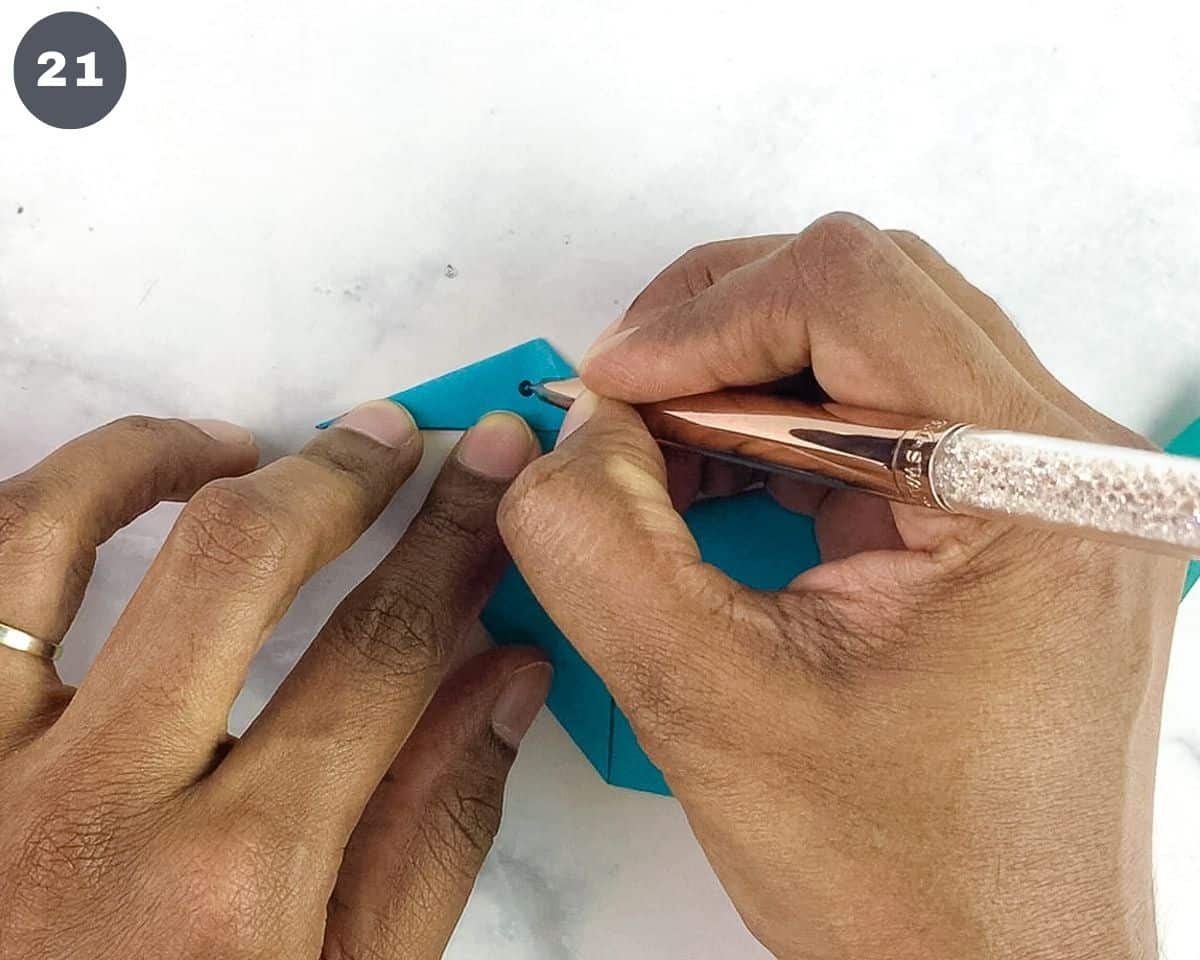
Draw the eyes on both sides of the duck’s face with a black pen to complete the origami duck (image 21).
Printable Instructions (Free PDF)
Click on the image below to download your free PDF instructions to make the origami duck:
Happy Folding 🙂
Expert tips
- Use a square paper. The measurement of the paper must be exactly the same on all sides. I used 15cm by 15cm. Larger squares will make larger ducks and smaller ones will make smaller ducks.
- The paper can be single sided. This is a single colored origami craft (unlike my origami koi fish here which is dual colored).
- Any type of paper will work for this easy paper origami duck so long as it can be folded and is firm enough to hold the shape. I used pre-cut origami paper, you can always make these ducks in any other craft paper or even wrapping papers.
What can you do with these origami ducks?
- Decorate - Place them on shelves at home or in your kids rooms. You can also use these origami ducks to decorate your table setting by placing them on plates or scattering them across the table for a cute and playful ambiance. They can also be stringed into a garland and hung in a room for themed events or celebrations.
- Educational tools - If you're a teacher or parent, you can use these origami ducks as a creative teaching tool. They can be part of a lesson on origami, animals, or even as a visual aid for storytelling.
- Photography props - Use the ducks as props for photography. They can add a playful element to photos, especially if you're capturing images of kids or pets.
- Decorative elements in crafts - Make the ducks in different colours and glue them onto greeting cards, scrapbooks, or mixed media art pieces as decorative elements.
- Mobiles - Create a hanging mobile with multiple origami ducks. Hang them at varying lengths from a frame or a mobile hanger for a delightful, kinetic display.


Leave a Reply